I have been struggling with getting my trailer organized in a fashion where I could easily get to everything I needed to. I tried a plastic garage cabinet system, a husky rolling trunk, and FINALLY think I’ve figured out the best option!
I decided to gridwall my trailer. After doing a million searches on Pinterest for “horse trailer storage” and doing price shopping, it seemed the cheapest and most flexible route to go. I tried pricing out the rail storage systems from the big hardware stores and they didn’t offer a ton of storage baskets or hook options, and were more pricey. The gridwall was more affordable overall and had a ton more hook, basket, and storage options. Now to just determine what the heck I needed! Luckily I had a friend who recently did it that I could bounce some questions off of! **Key piece of info, it’s cheaper to piece it together yourself than buy a pre-setup horse trailer kit**.
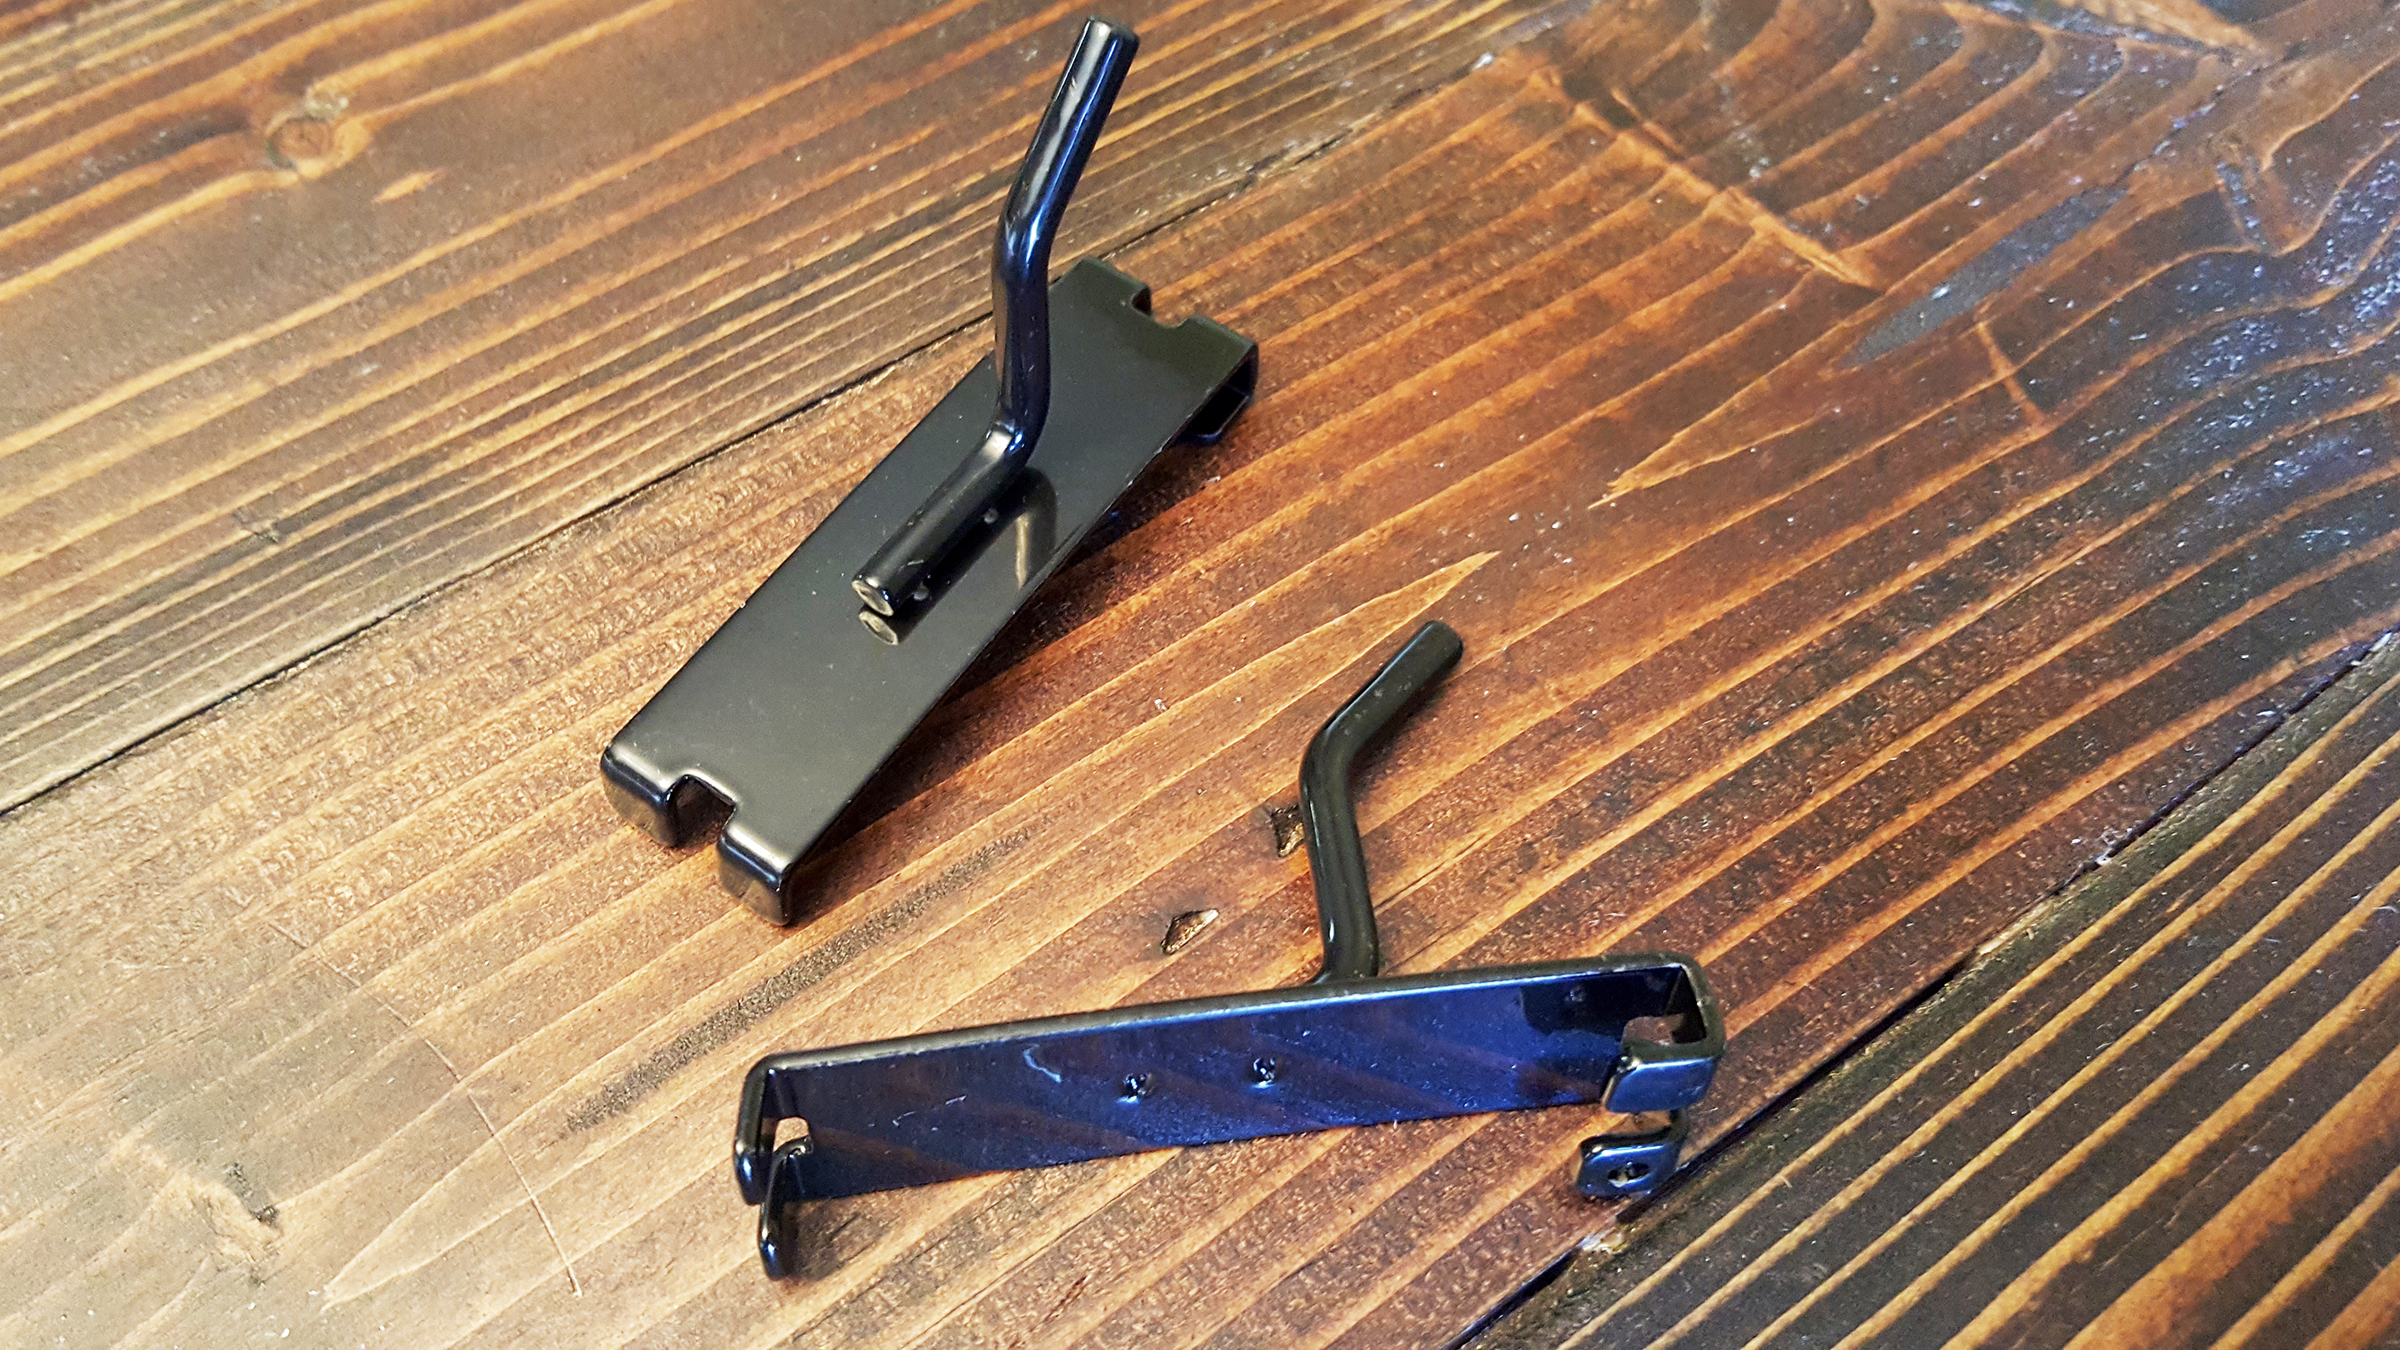
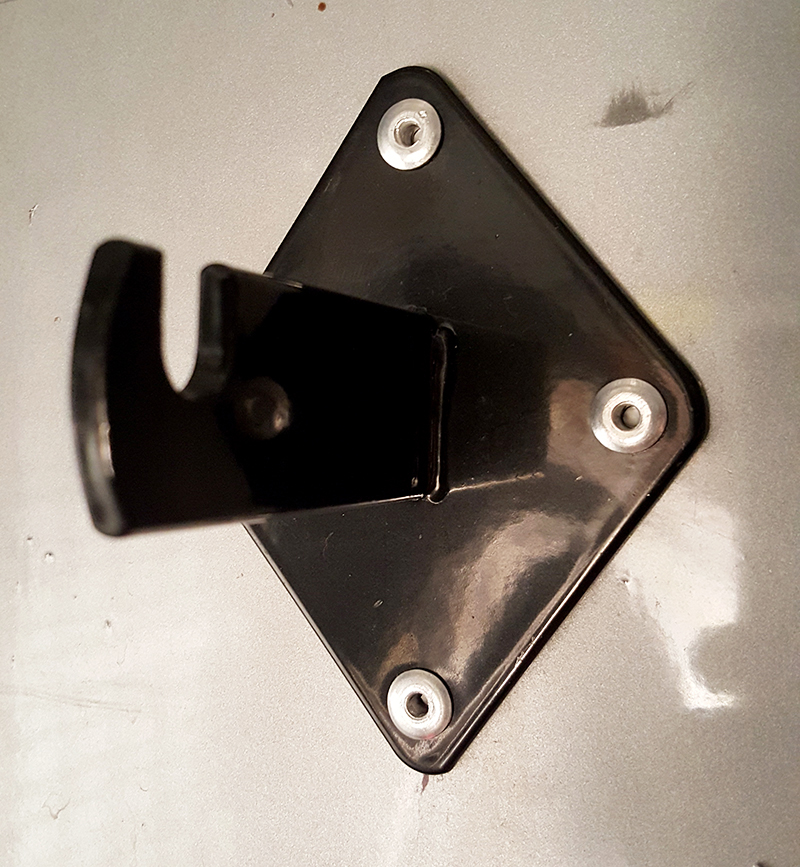
So for the grid installation itself, you need the gridwall, gridwall mounts, some sort of fastening hardware (I chose rivets), and the tools to install the hardware. I also opted for the gridwall joining clips because some of my grids were going to touch each other, and those clips help strengthen the system. (Don’t worry I have linked to everything I used below!)

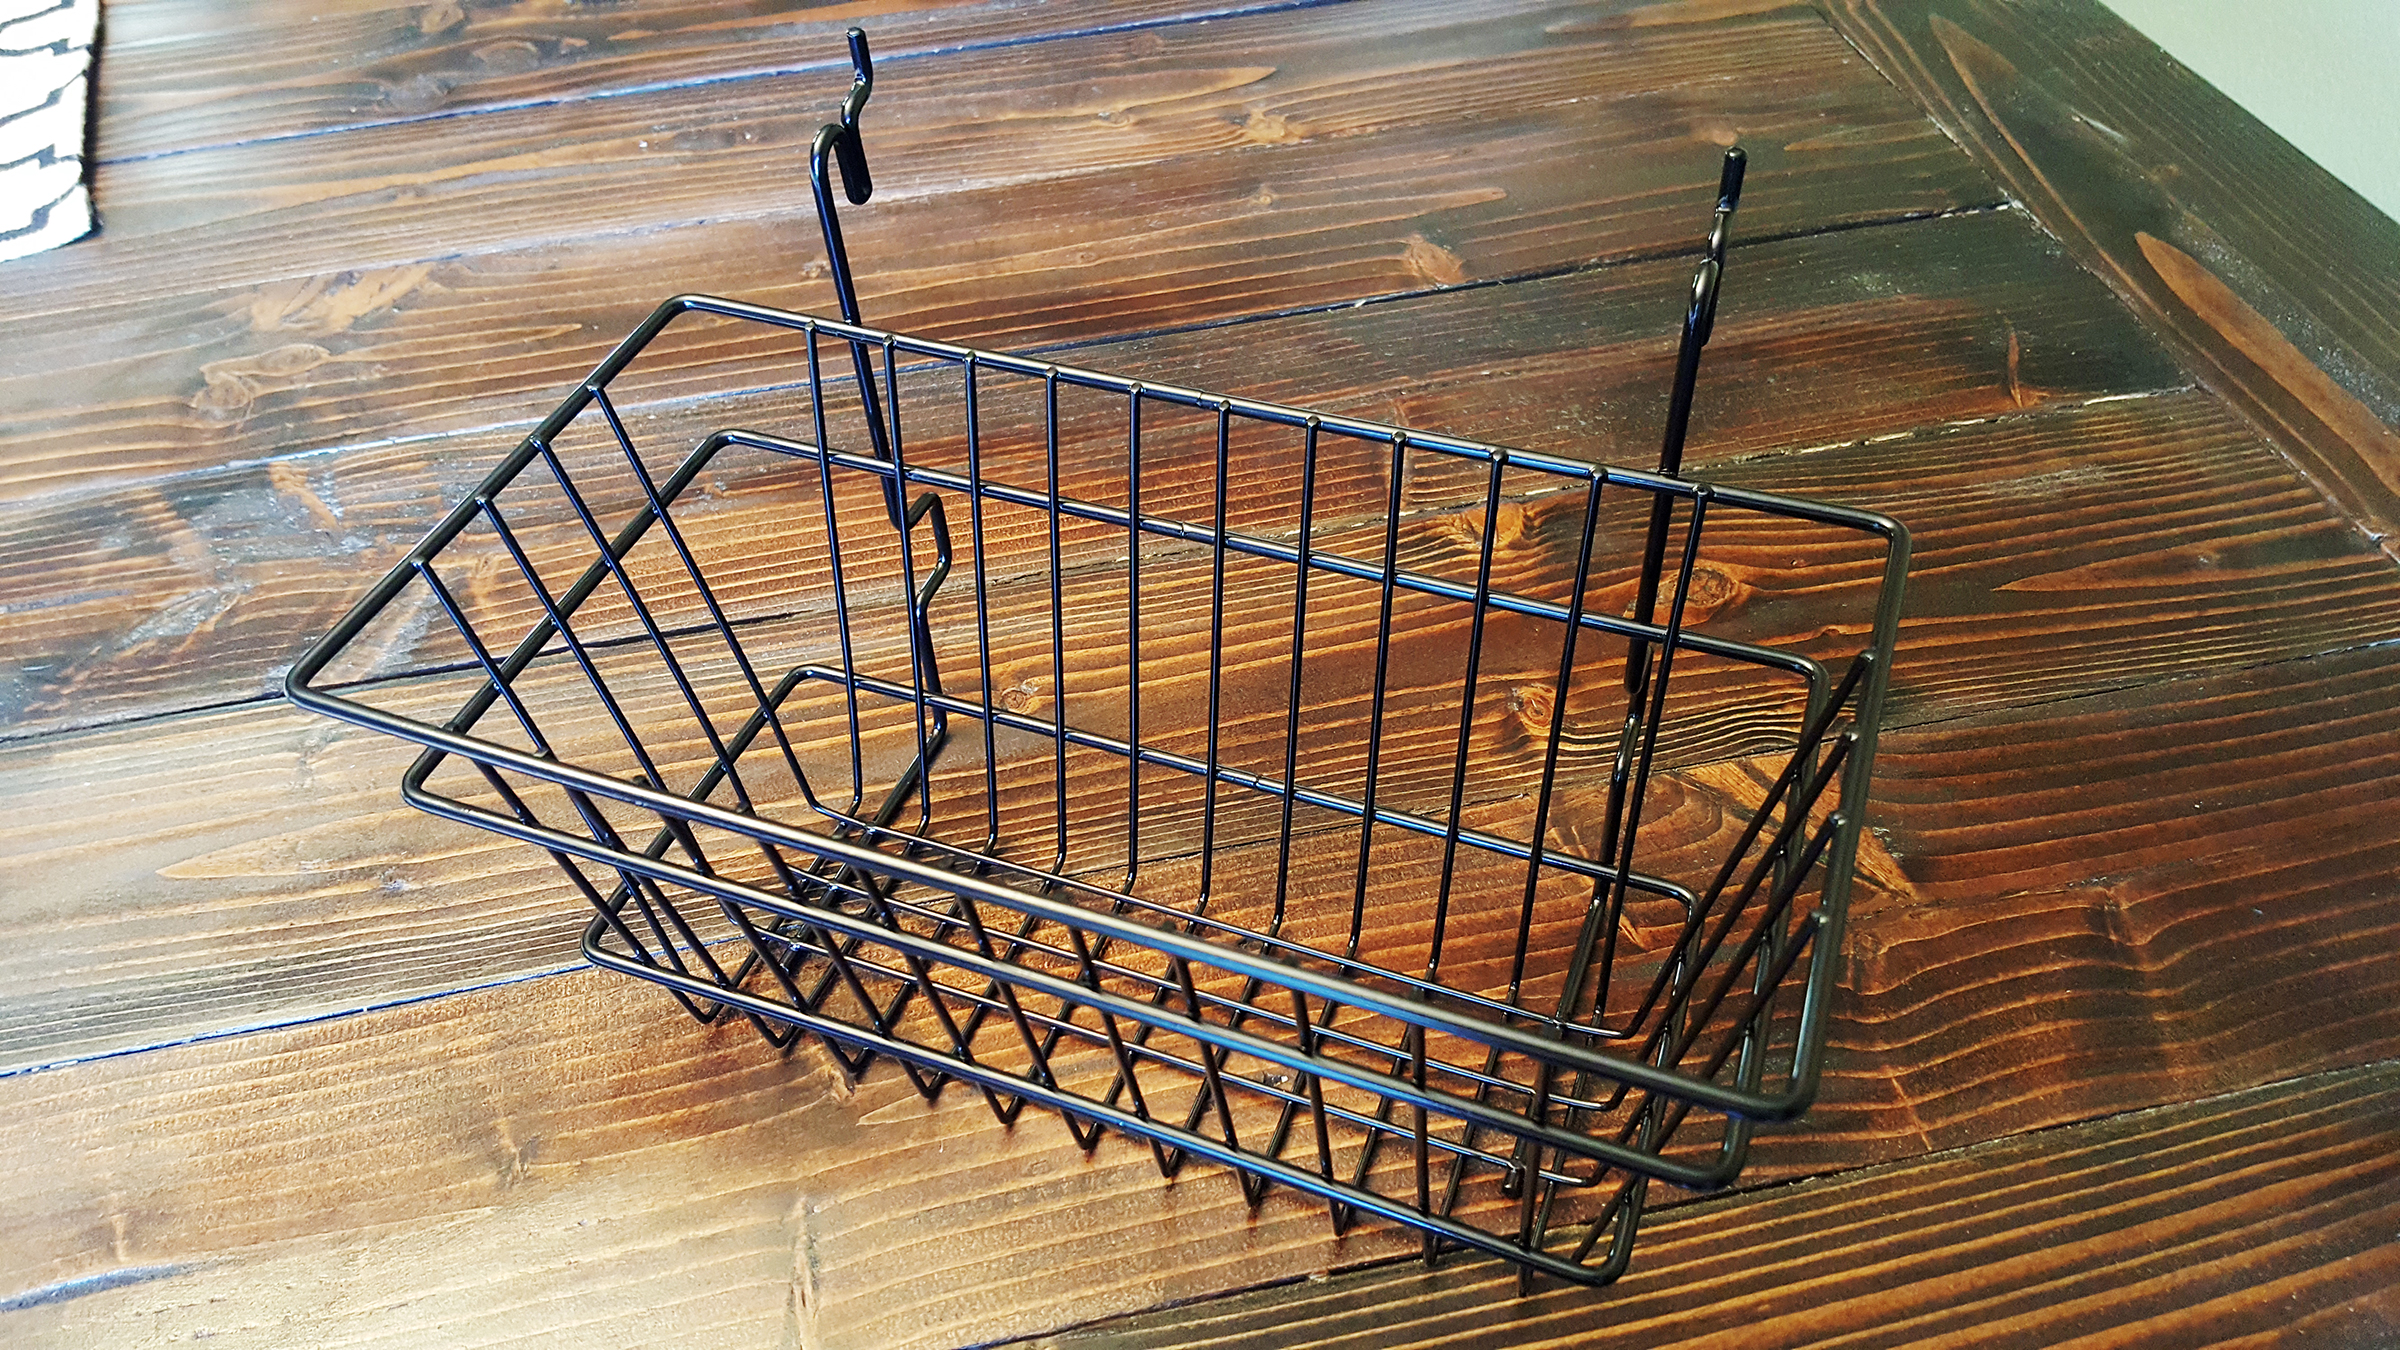
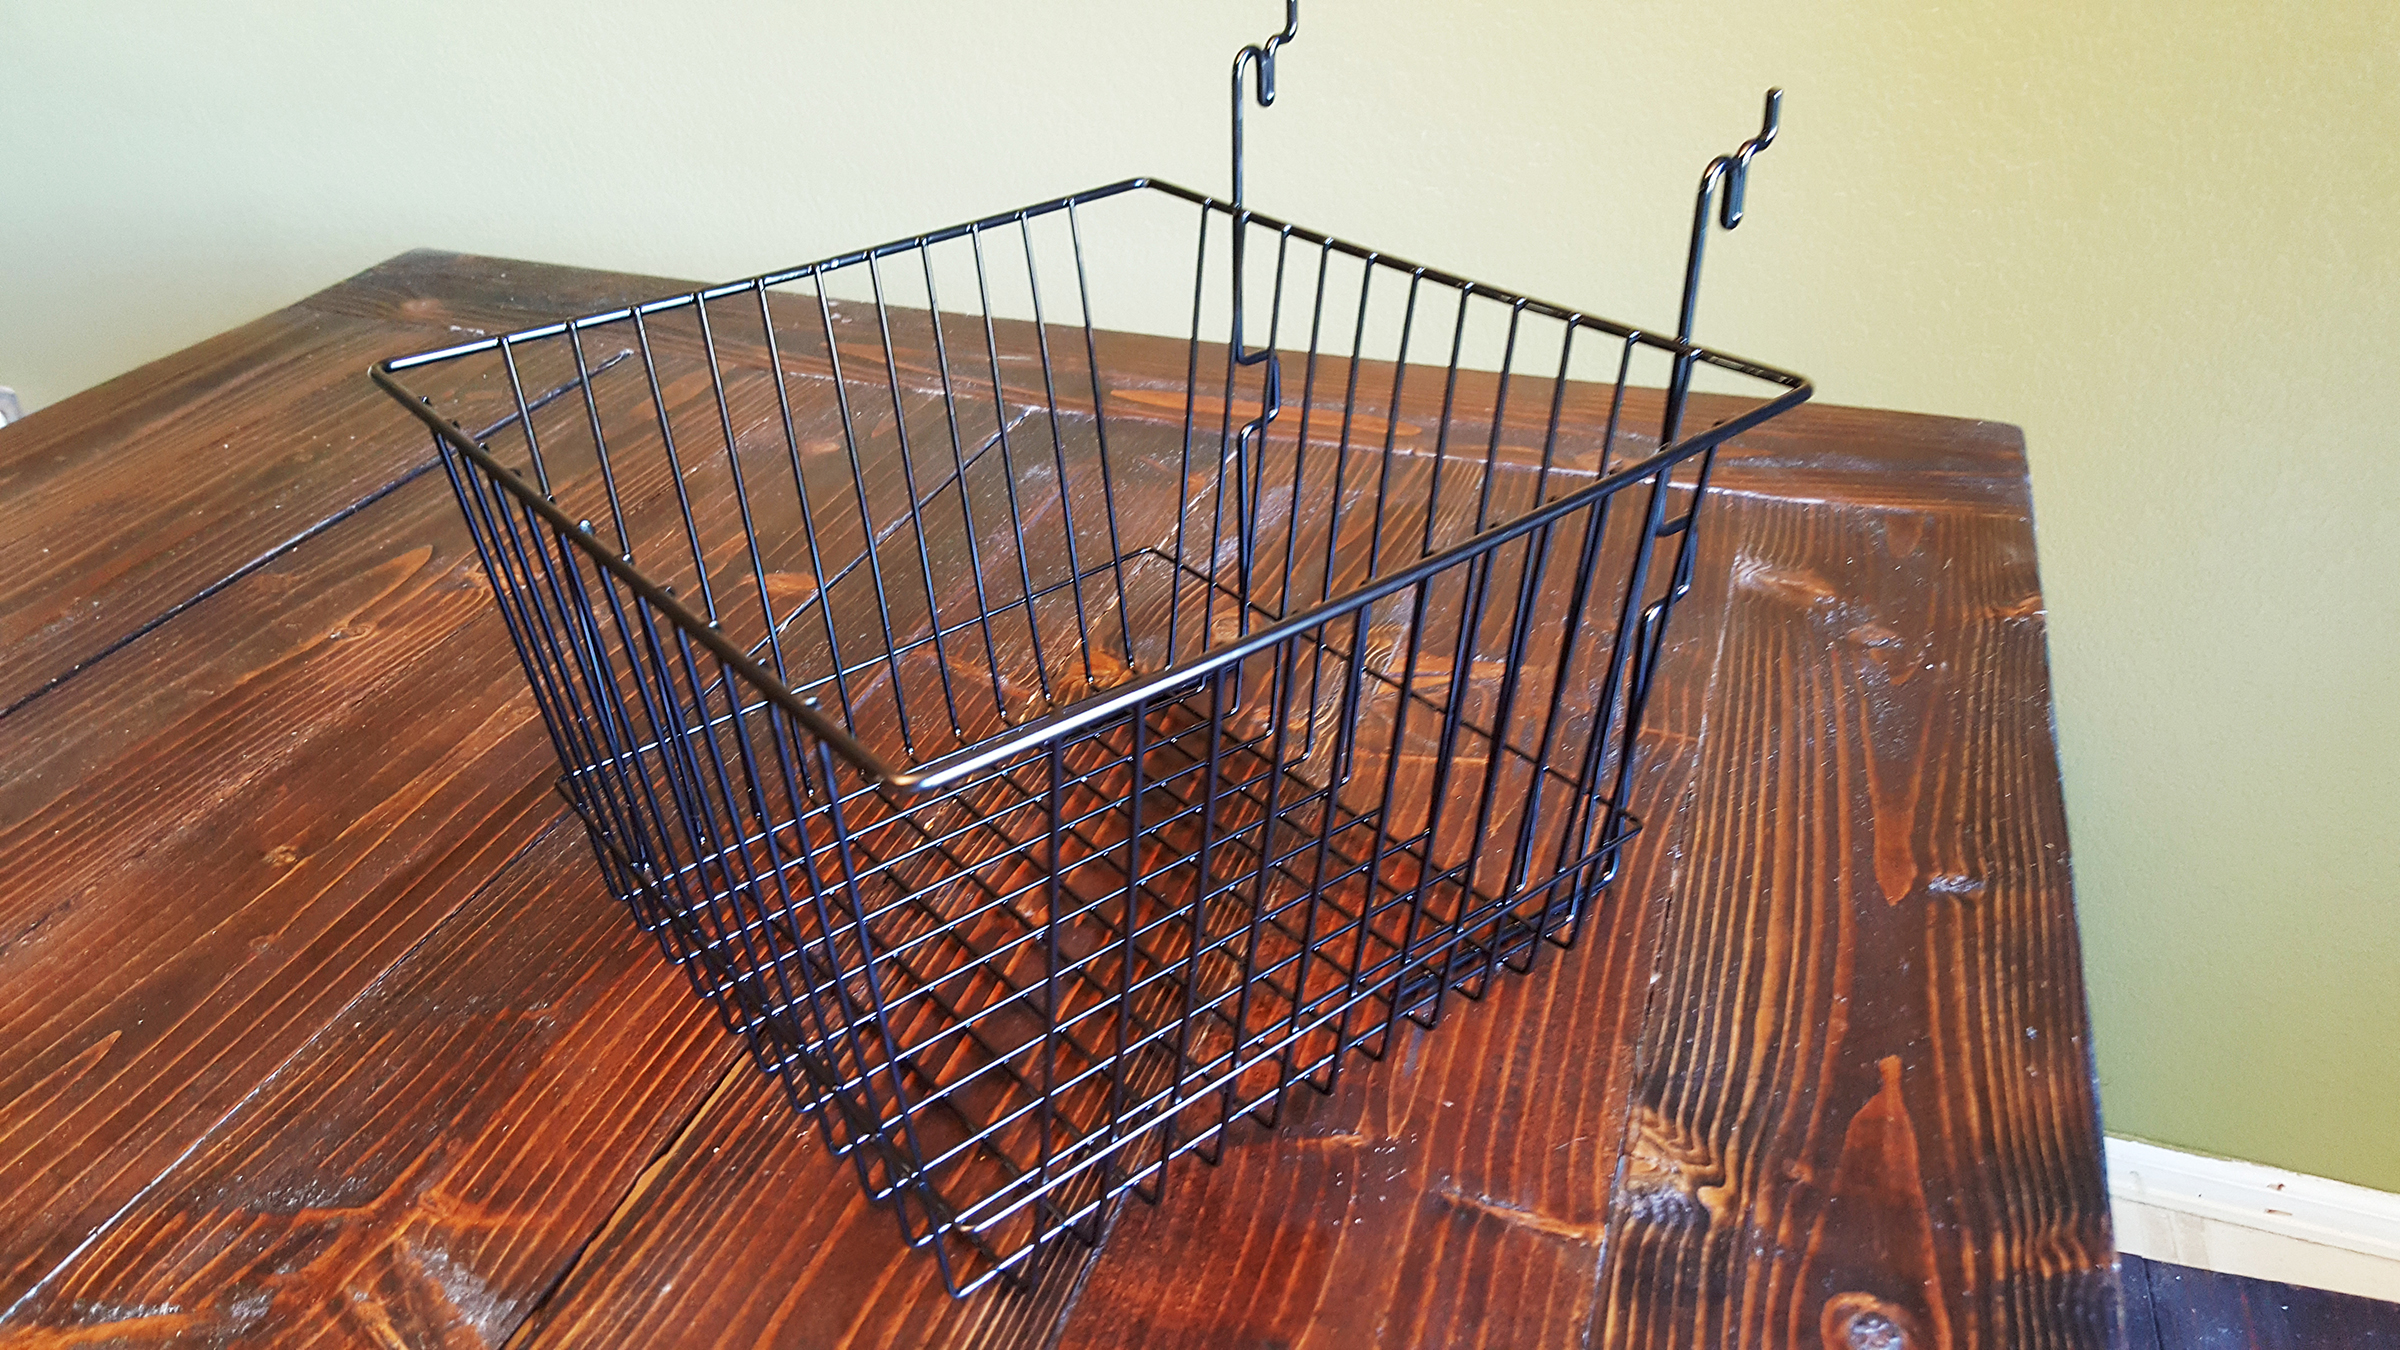
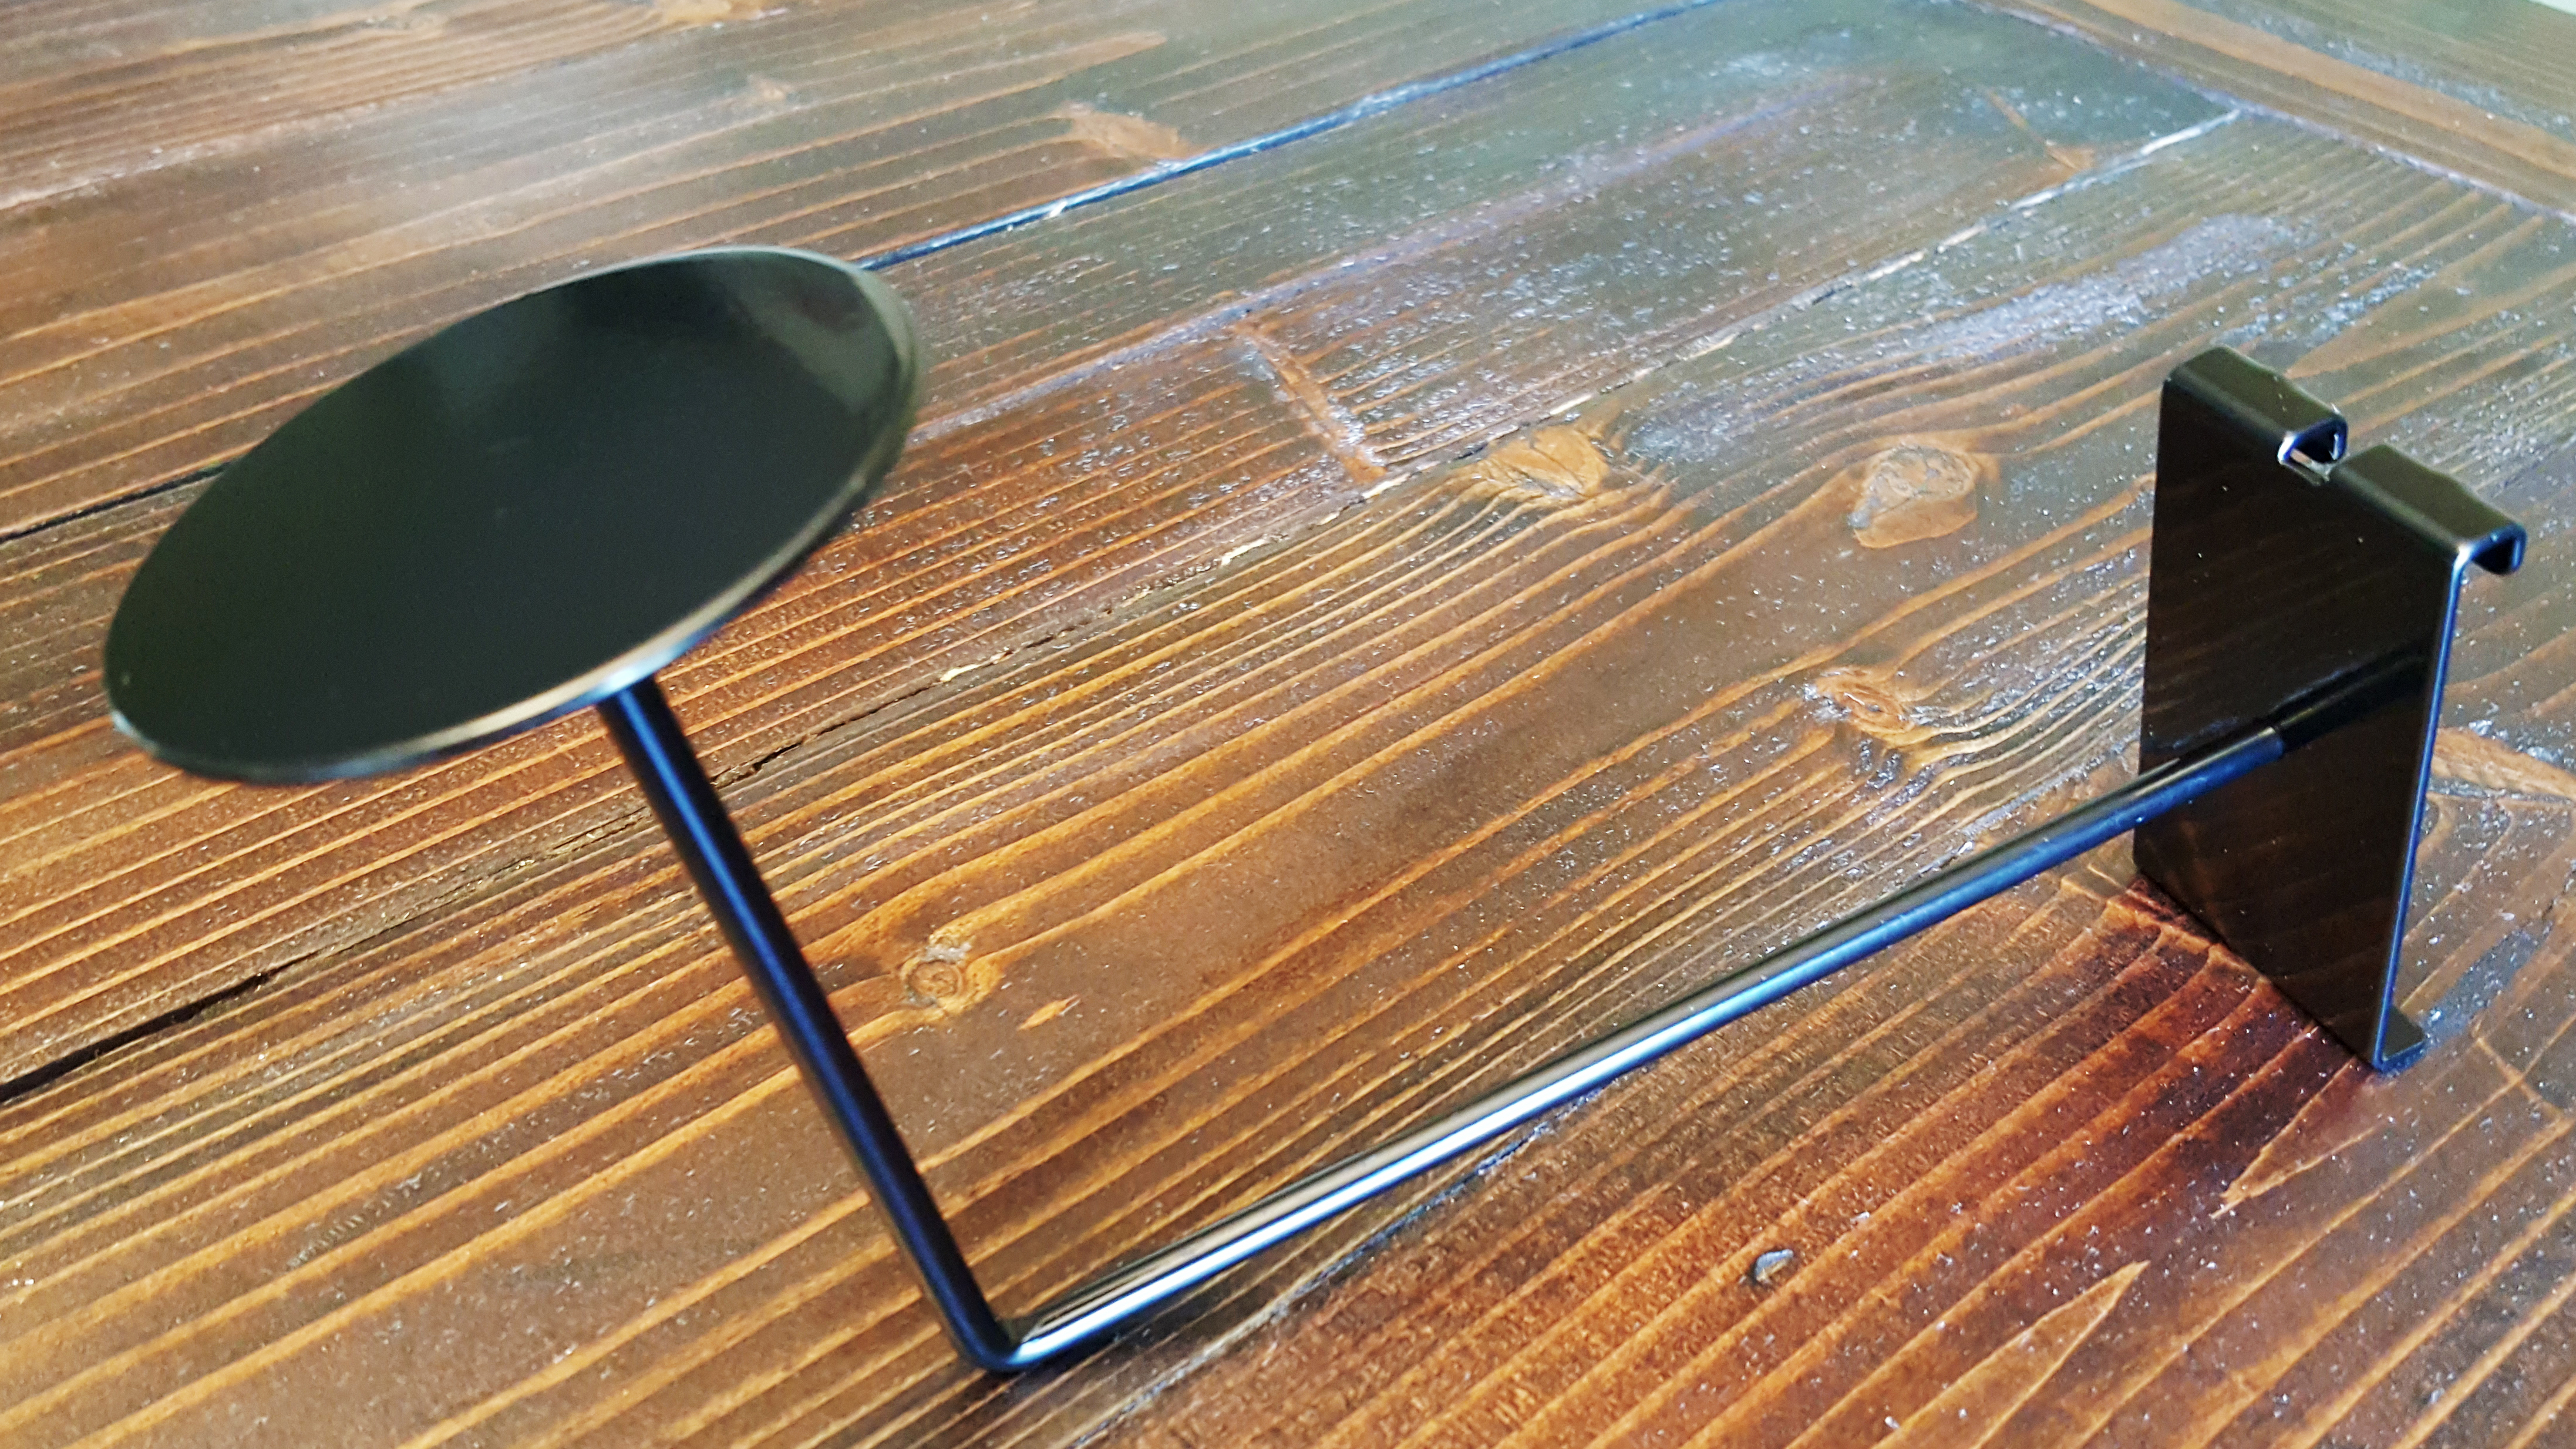
Then for the fun part, the baskets, hooks, and accessories. I *MAY* have gone overboard here. I ordered 100 hooks, 18 baskets, 2 hat displays (helmet holders), “C” hook (saddle pad rack), and a waterfall clothing hook. My house looked like an Amazon warehouse exploded. There were not enough grids for things LOL.
Because of the space available in my trailer, I opted for the 2’x6′ grid panels, and I had room for 3, so bought the 3pack for cost savings (although I ended up cutting one of them down slightly – you will see in the finished photos!).
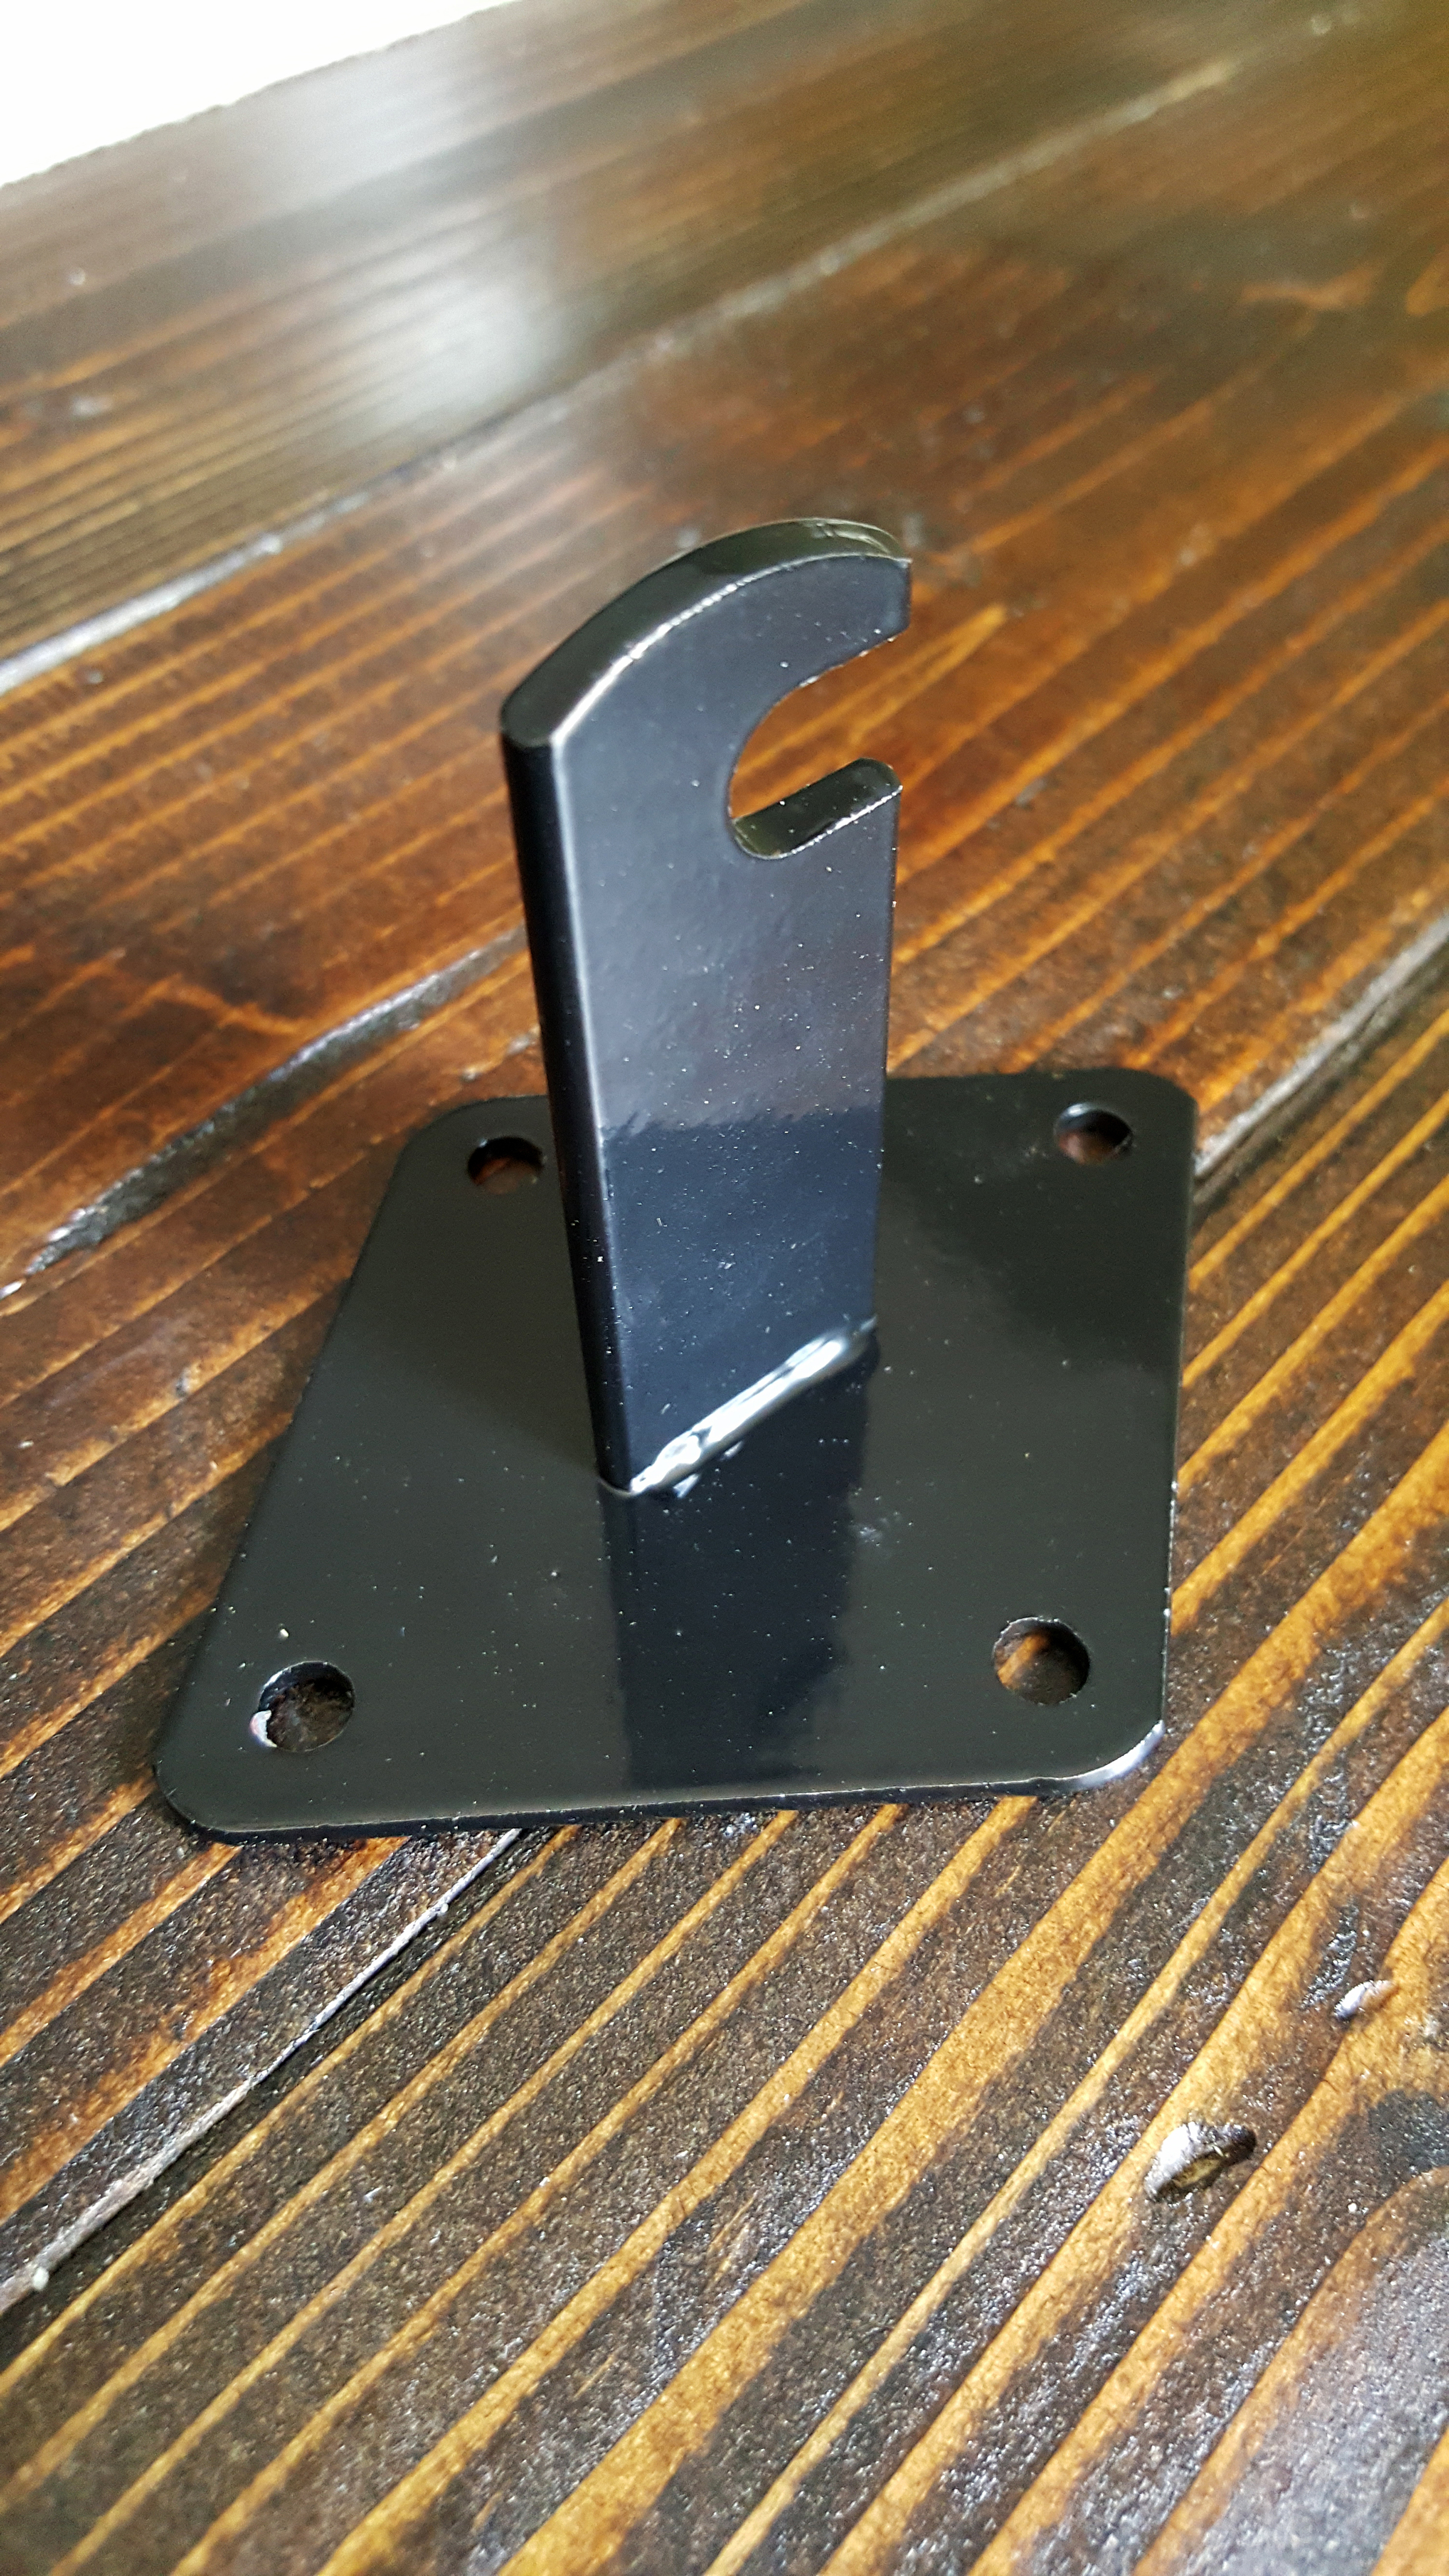
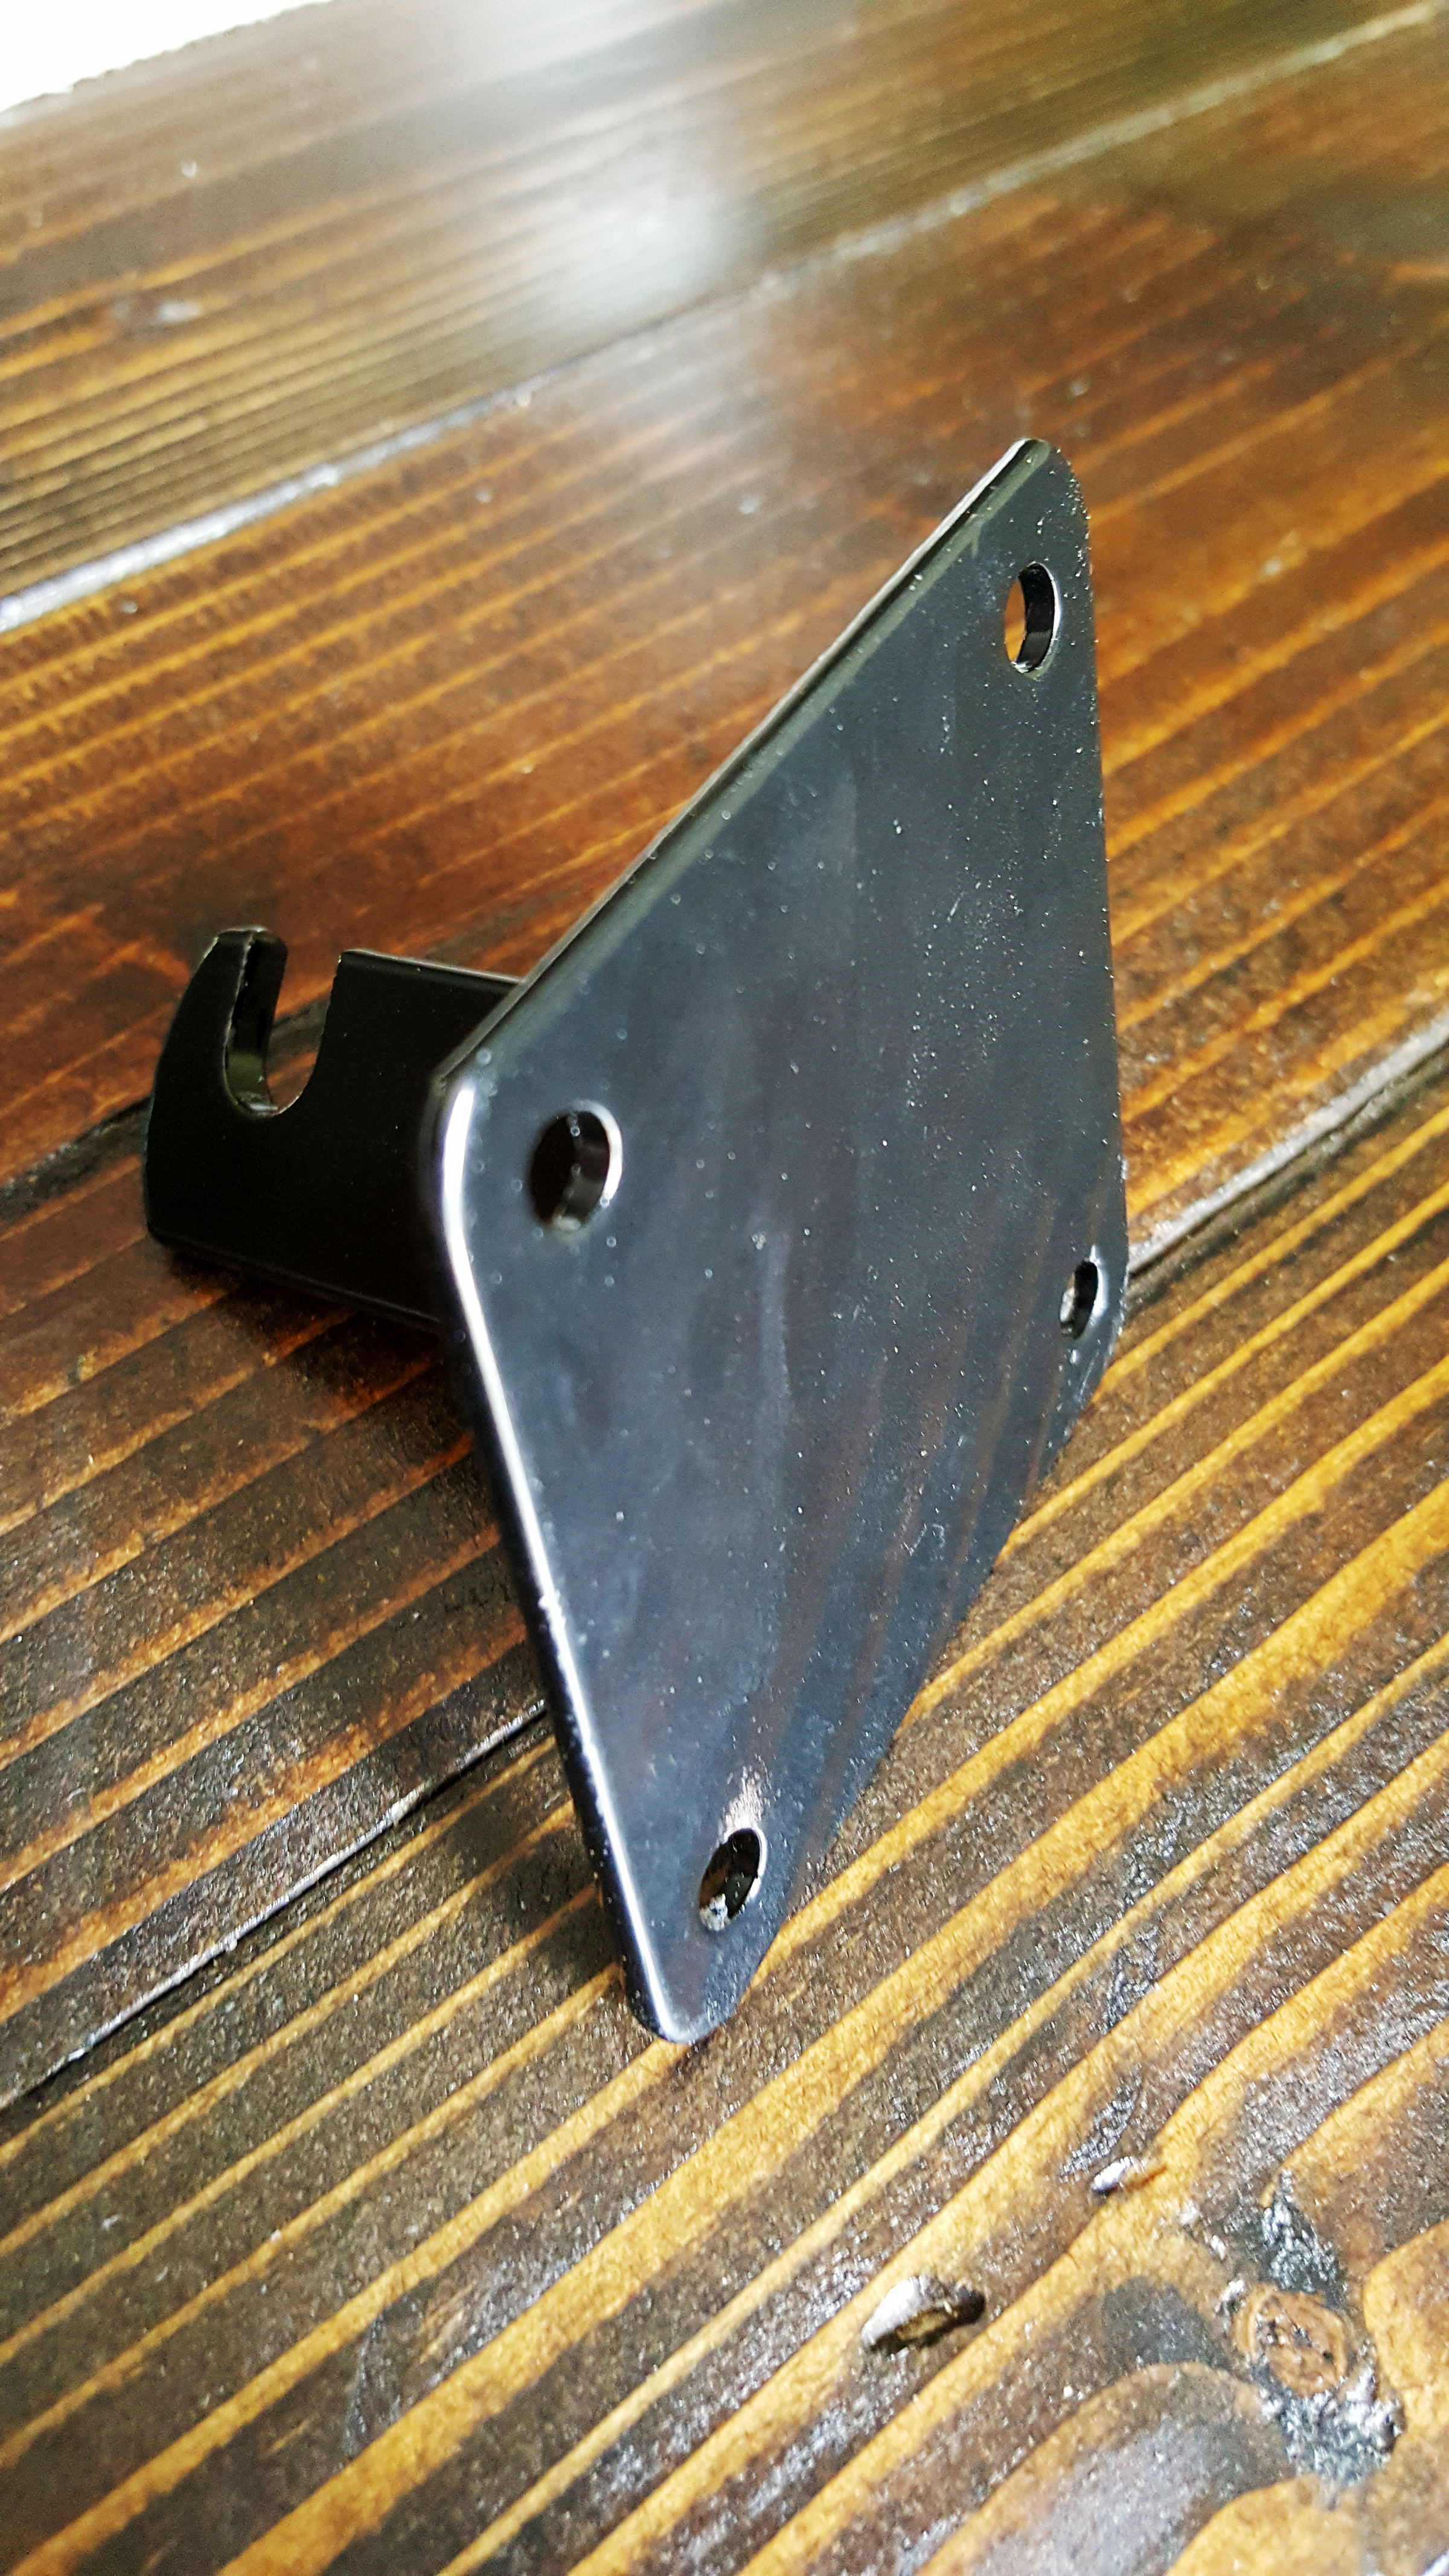
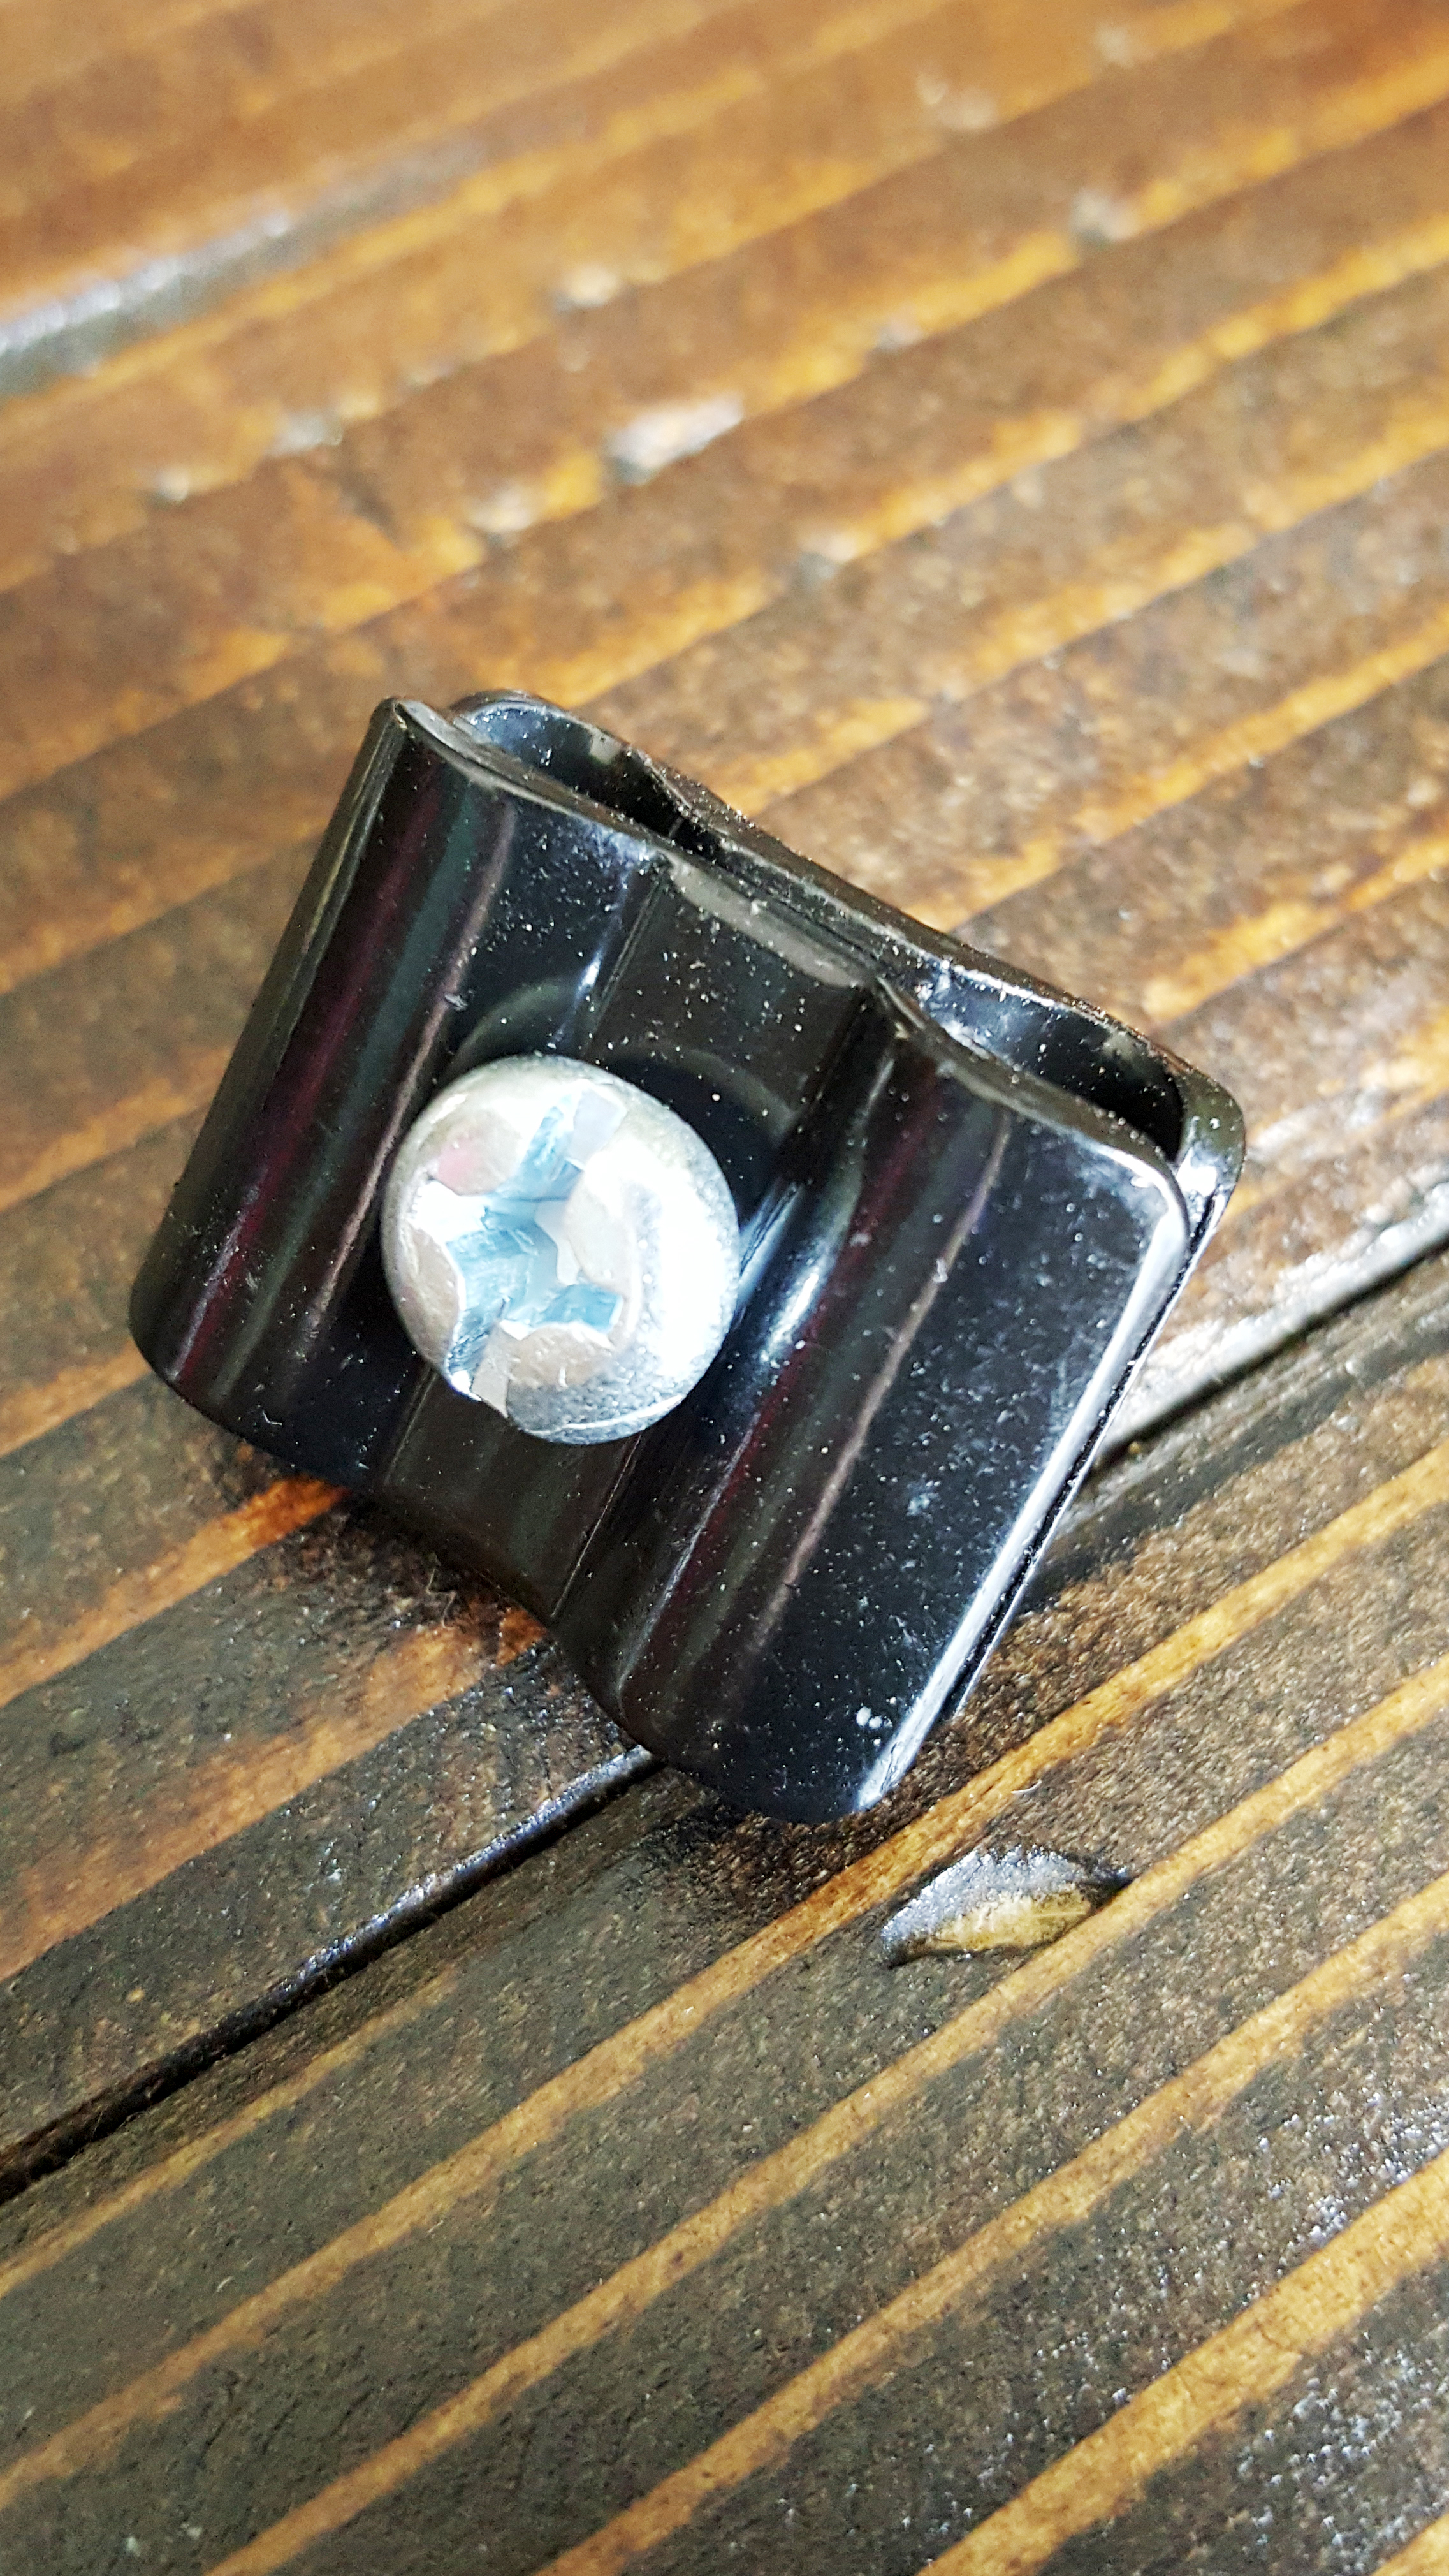
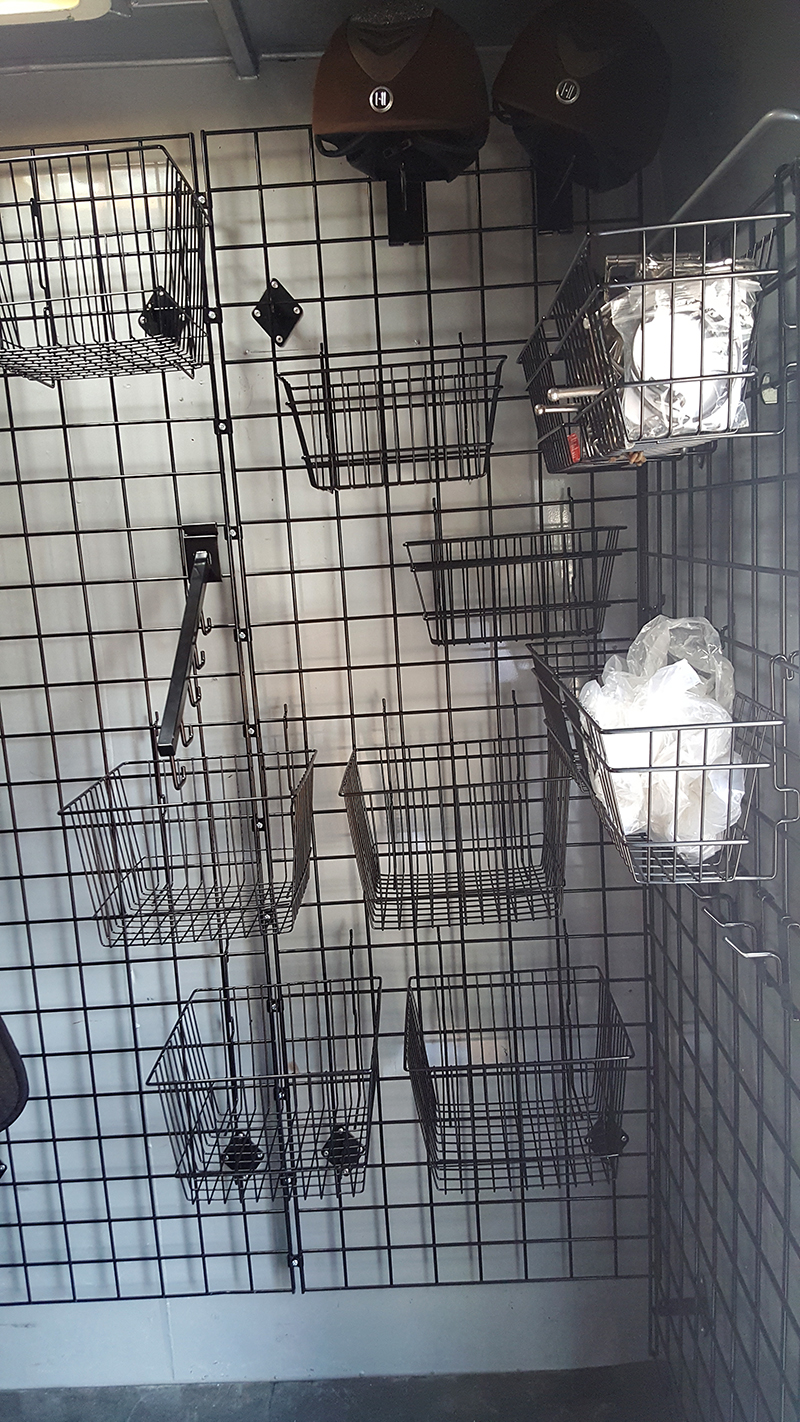
Gallery of Install Items (Click image for description)

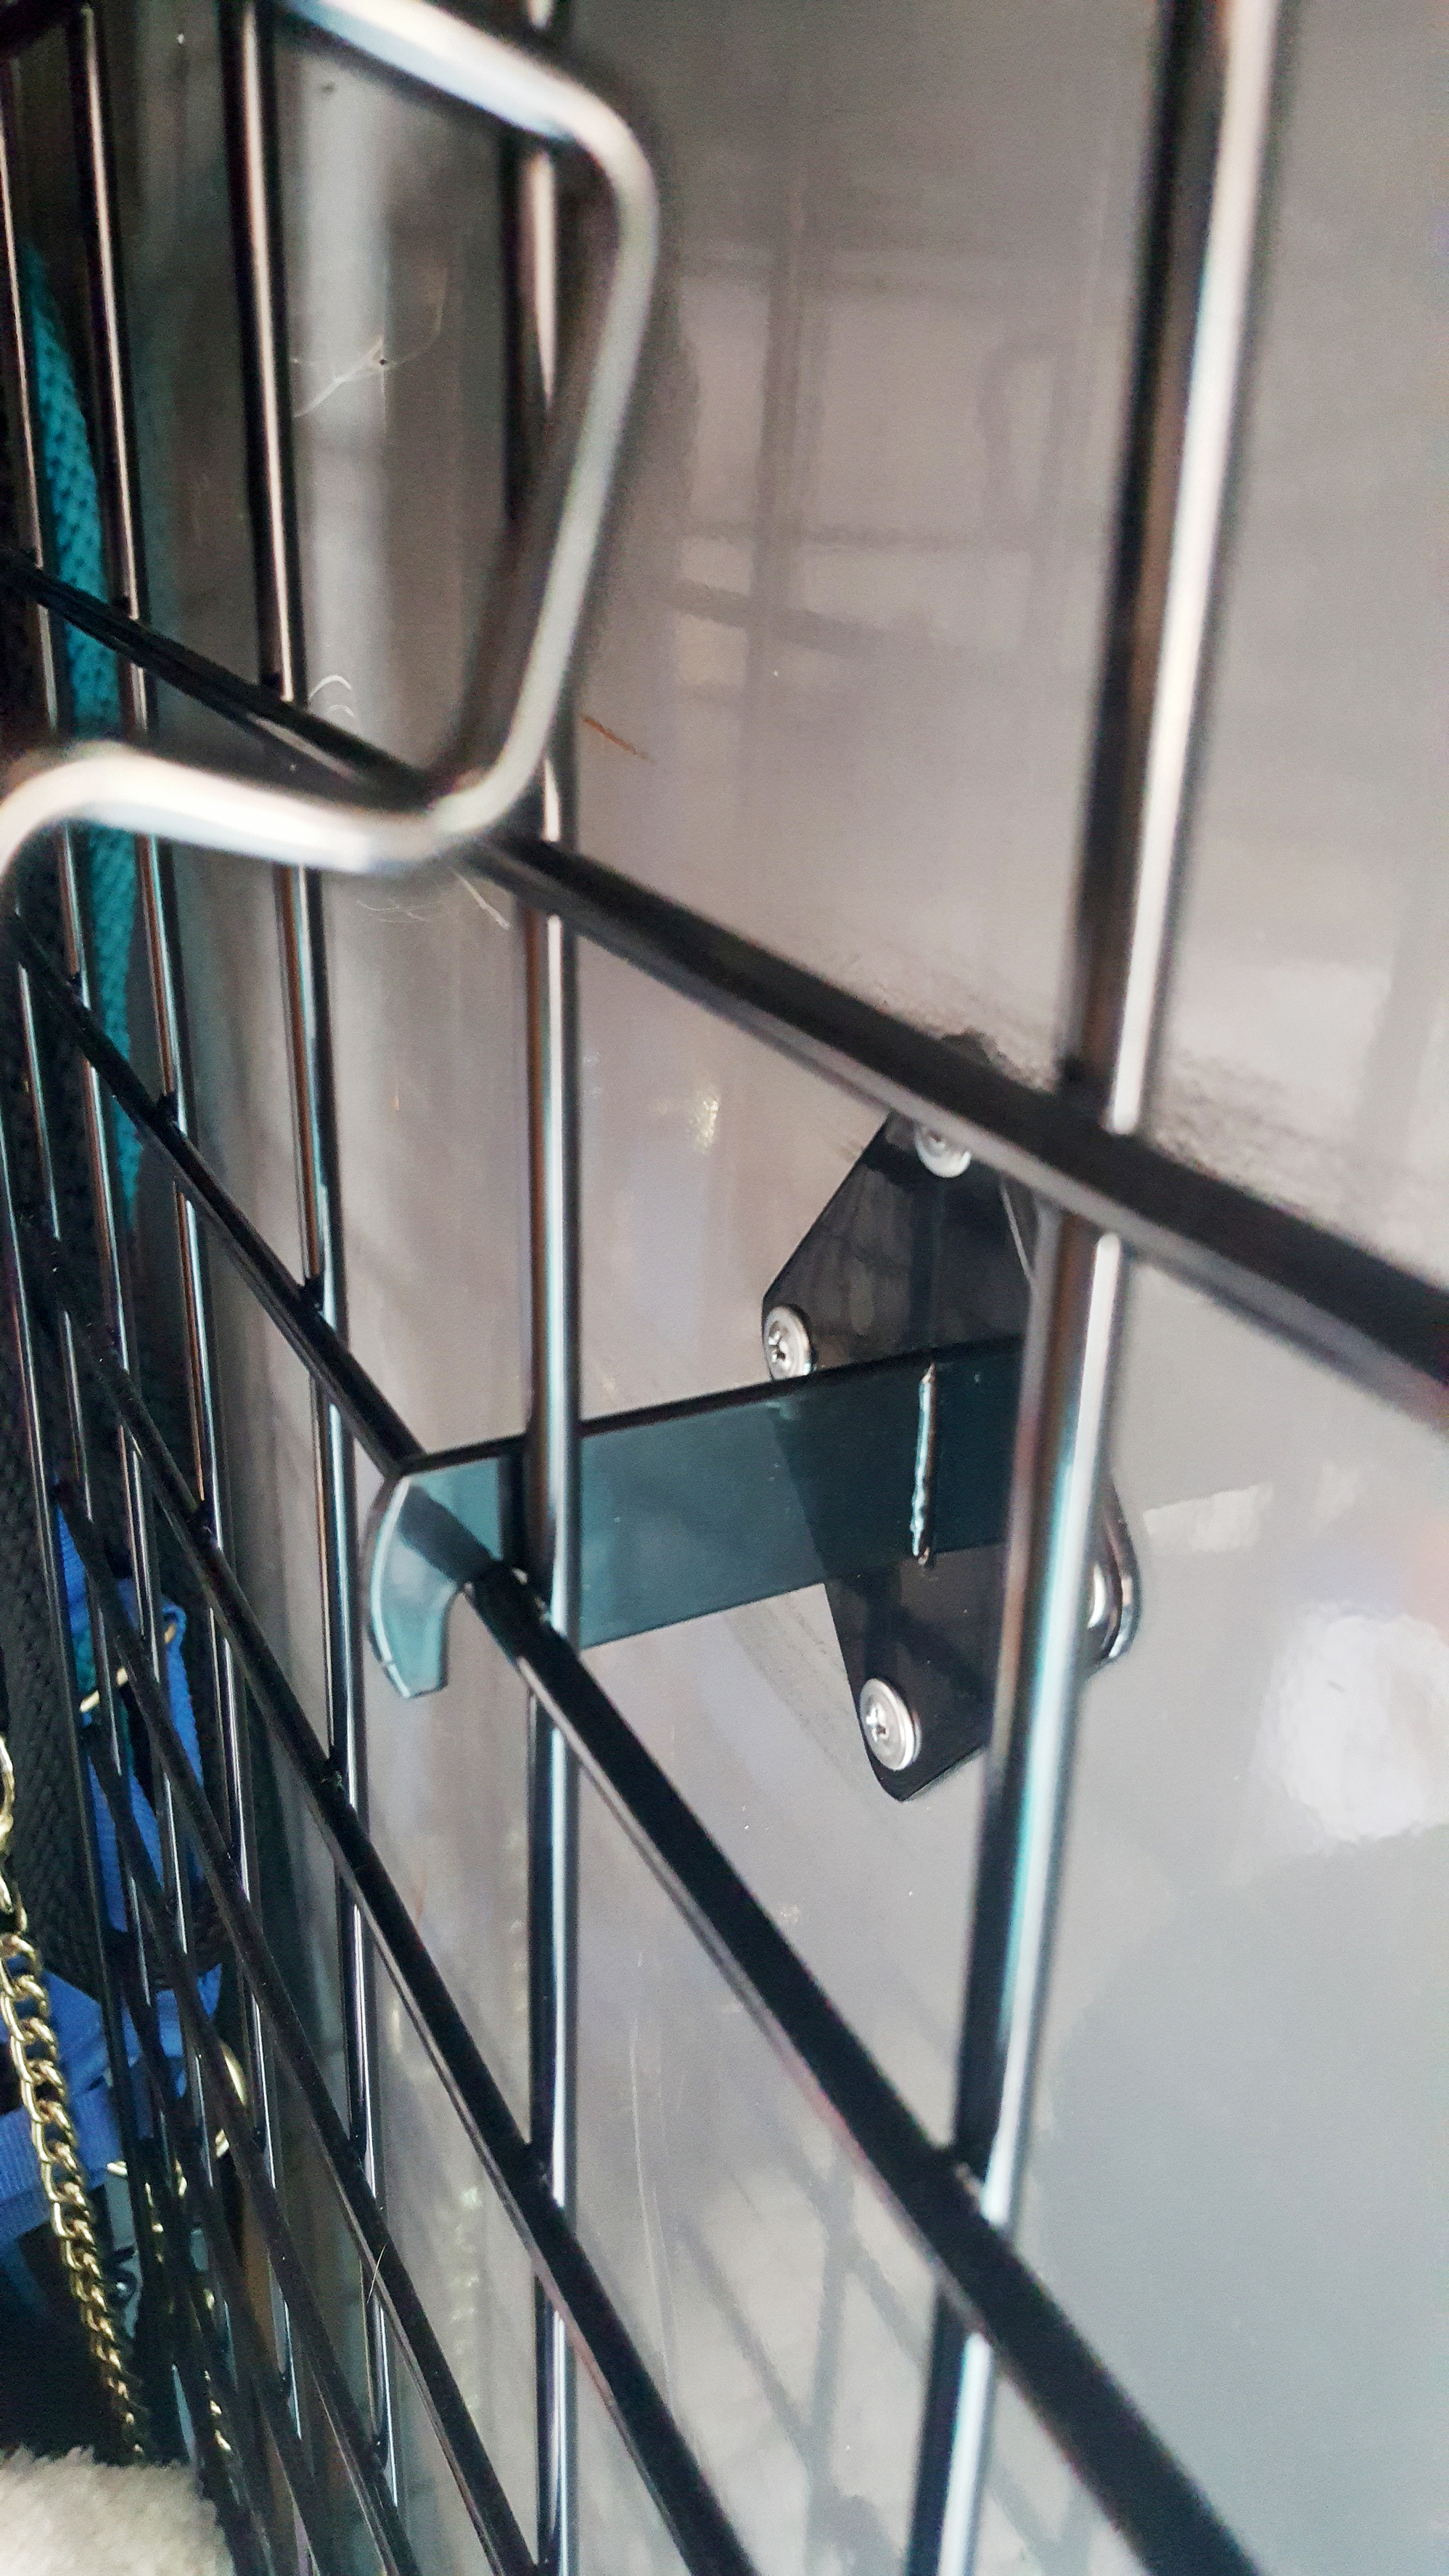
My boyfriend and I measured exactly where I wanted them placed and started to mark the bracket holes for drilling (having help is truly necessary in my opinion – you need 4 arms to get it all adjusted right). They recommended 4 grid mounts per panel. I personally chose to place the brackets almost to the outside of the grid, but not quite (they are one grid in and braced against the vertical grid bars to avoid sliding). It offered what seemed to me the most stability while offering the most contact point as well, and still allowed me to place two grids right next to each other. After my initial install I realized that for a horse trailer, you really need an additional mount in the center facing downwards to prevent the grid from bouncing around with movement (helps reduce noise AND things falling off).

Once we got the first panel marked, we drilled a pilot hole (small drill bit), then finished with the 3/16″ drill bit (the size of the rivets I was going to use). We then installed the grid mount with a rivet gun and the 3/16″ x 1/4″ aluminum rivets. (You may need a different size depending on the metal you are attaching to). Once all 4 mounts were installed, we hung the grid on them.
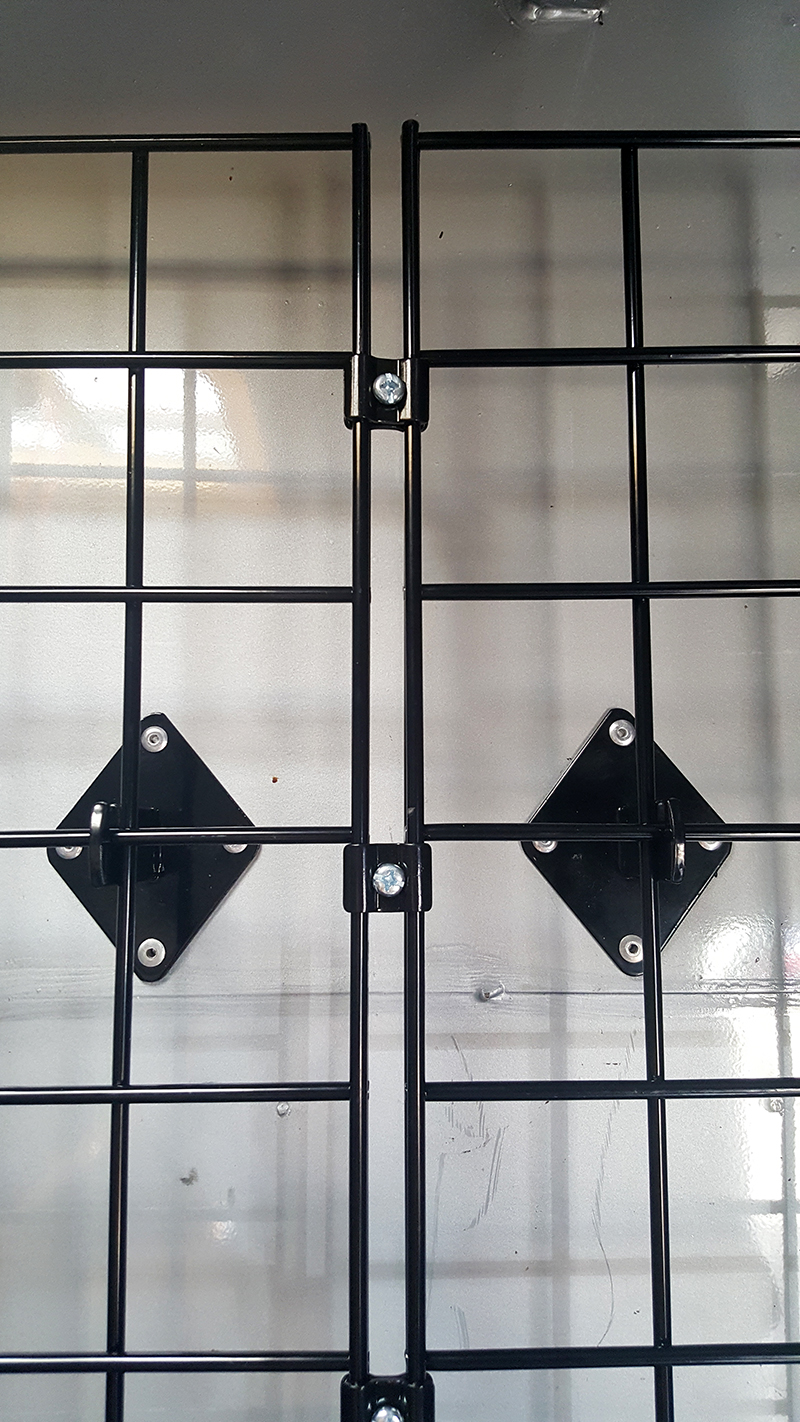
After the first panel was installed, we got ready to mark the second panel. My second panel was going to attach to my first panel, so we held it up and put a couple joining clips on so we knew where they needed to be placed in reference to each other BEFORE marking drill points. Once we knew its exact location we marked these mounts, drilled, and riveted. We then hung the second panel and installed the joining clips.
The final panel to be installed was going on a different wall. So it did not require comparing it to the other panels for joining clips. However, because I’m anal retentive, and the wall it was getting attached to was shorter in height (so the panel needed to be cut), I did measure to ensure the bottom of all the panels would be at the same level. We then cut the panel with a sawzall to the appropriate height, painted the cut ends in gloss black to match the gridwall, and started our grid mount placement and marking. Once this panel had all the grid mounts marked, we drilled, and riveted the mounts into place and then hung the panel.
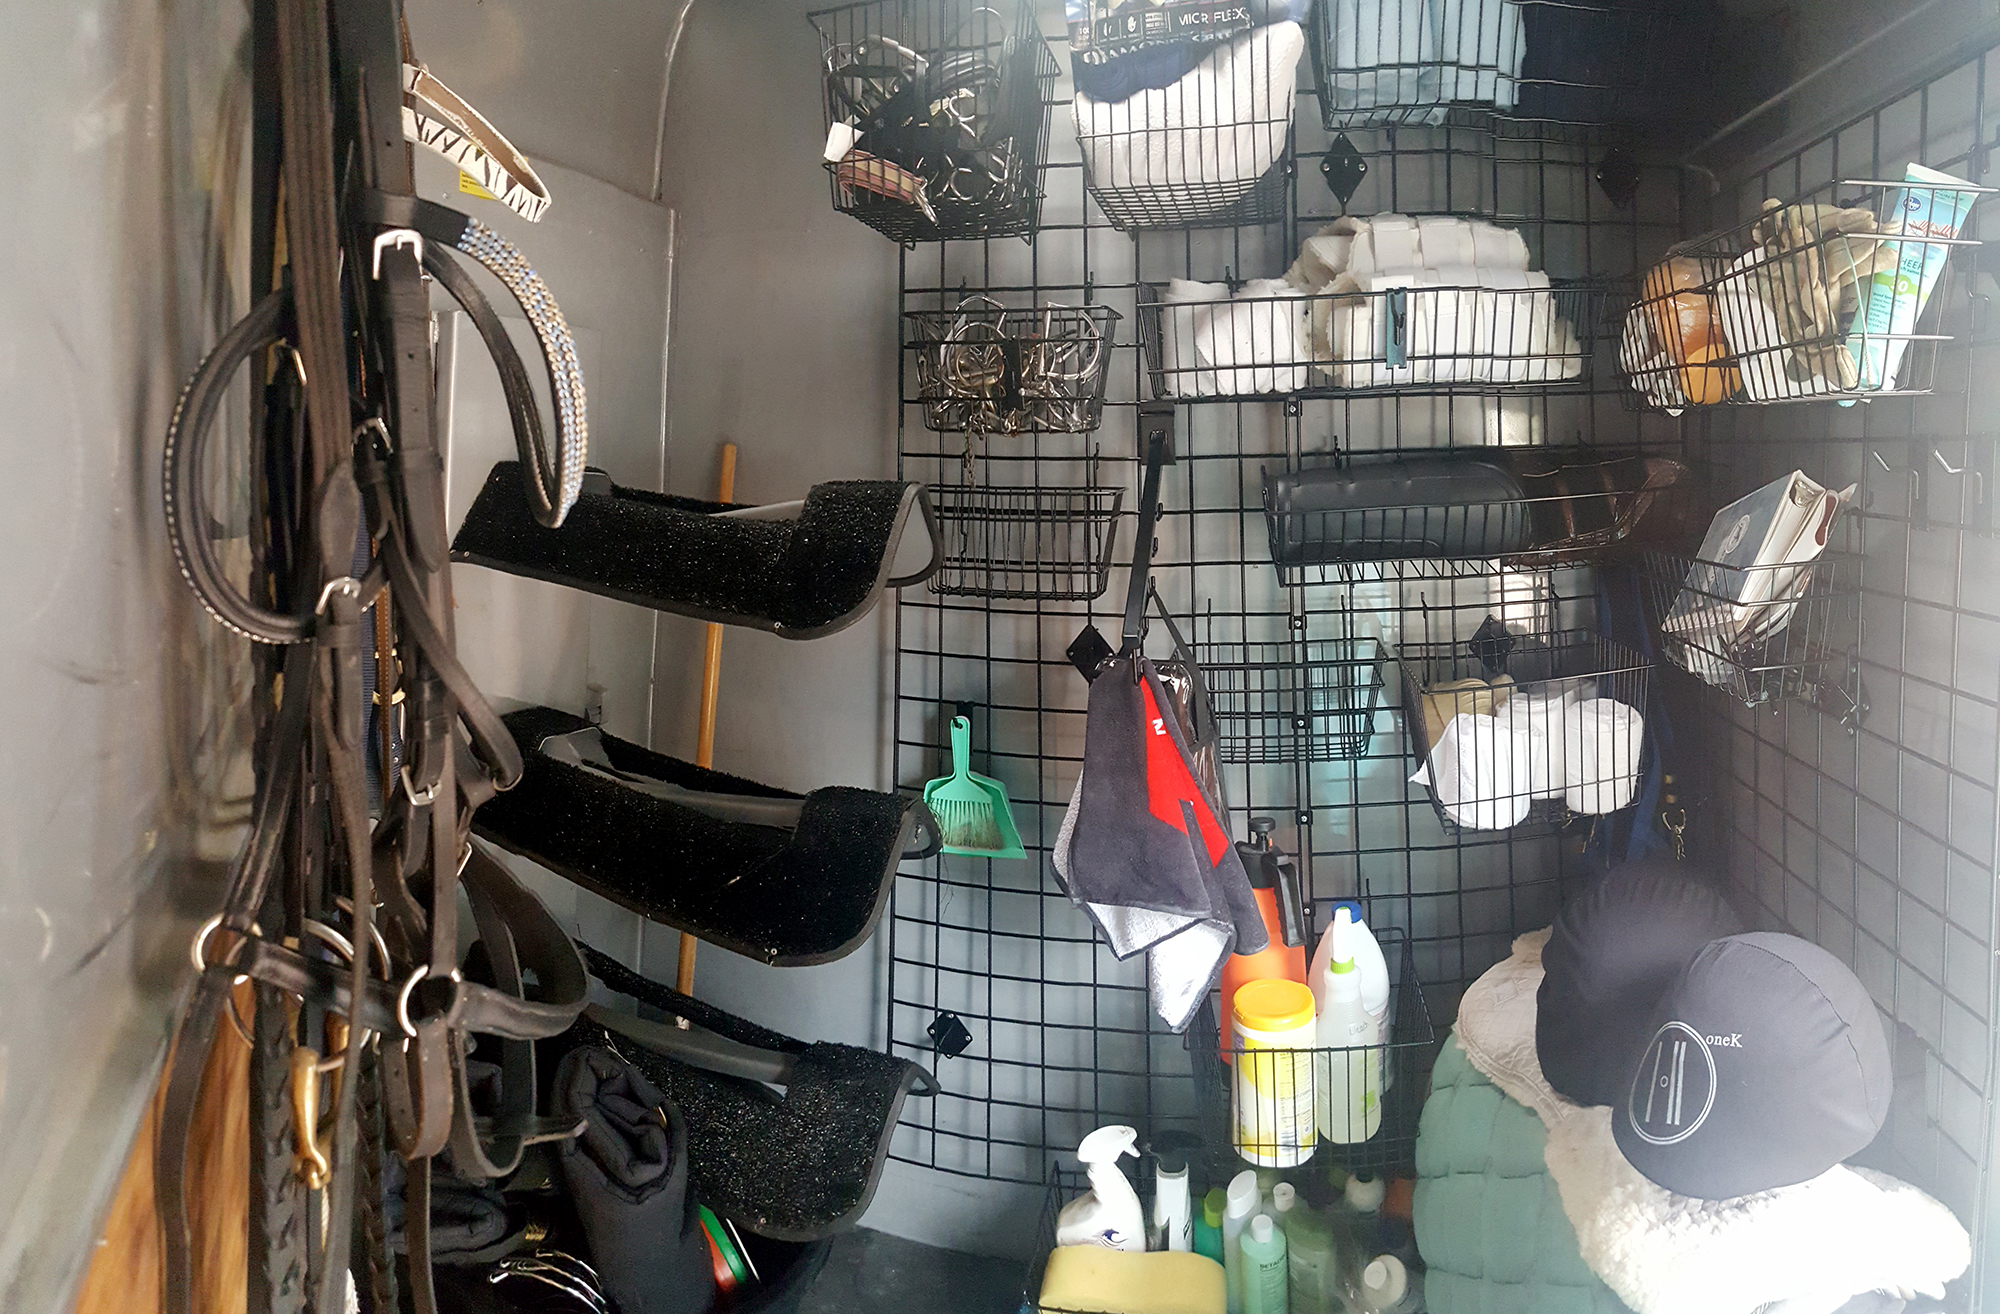
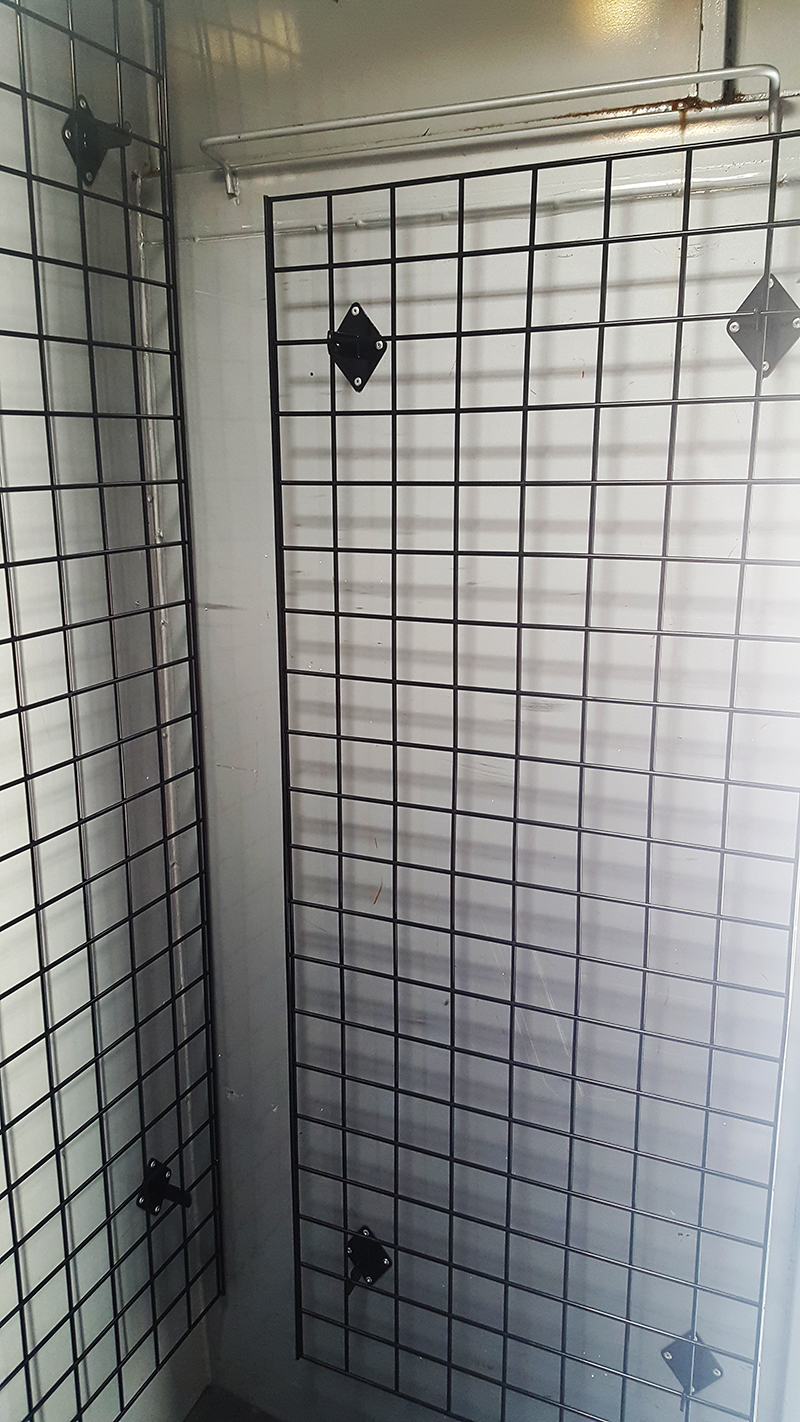
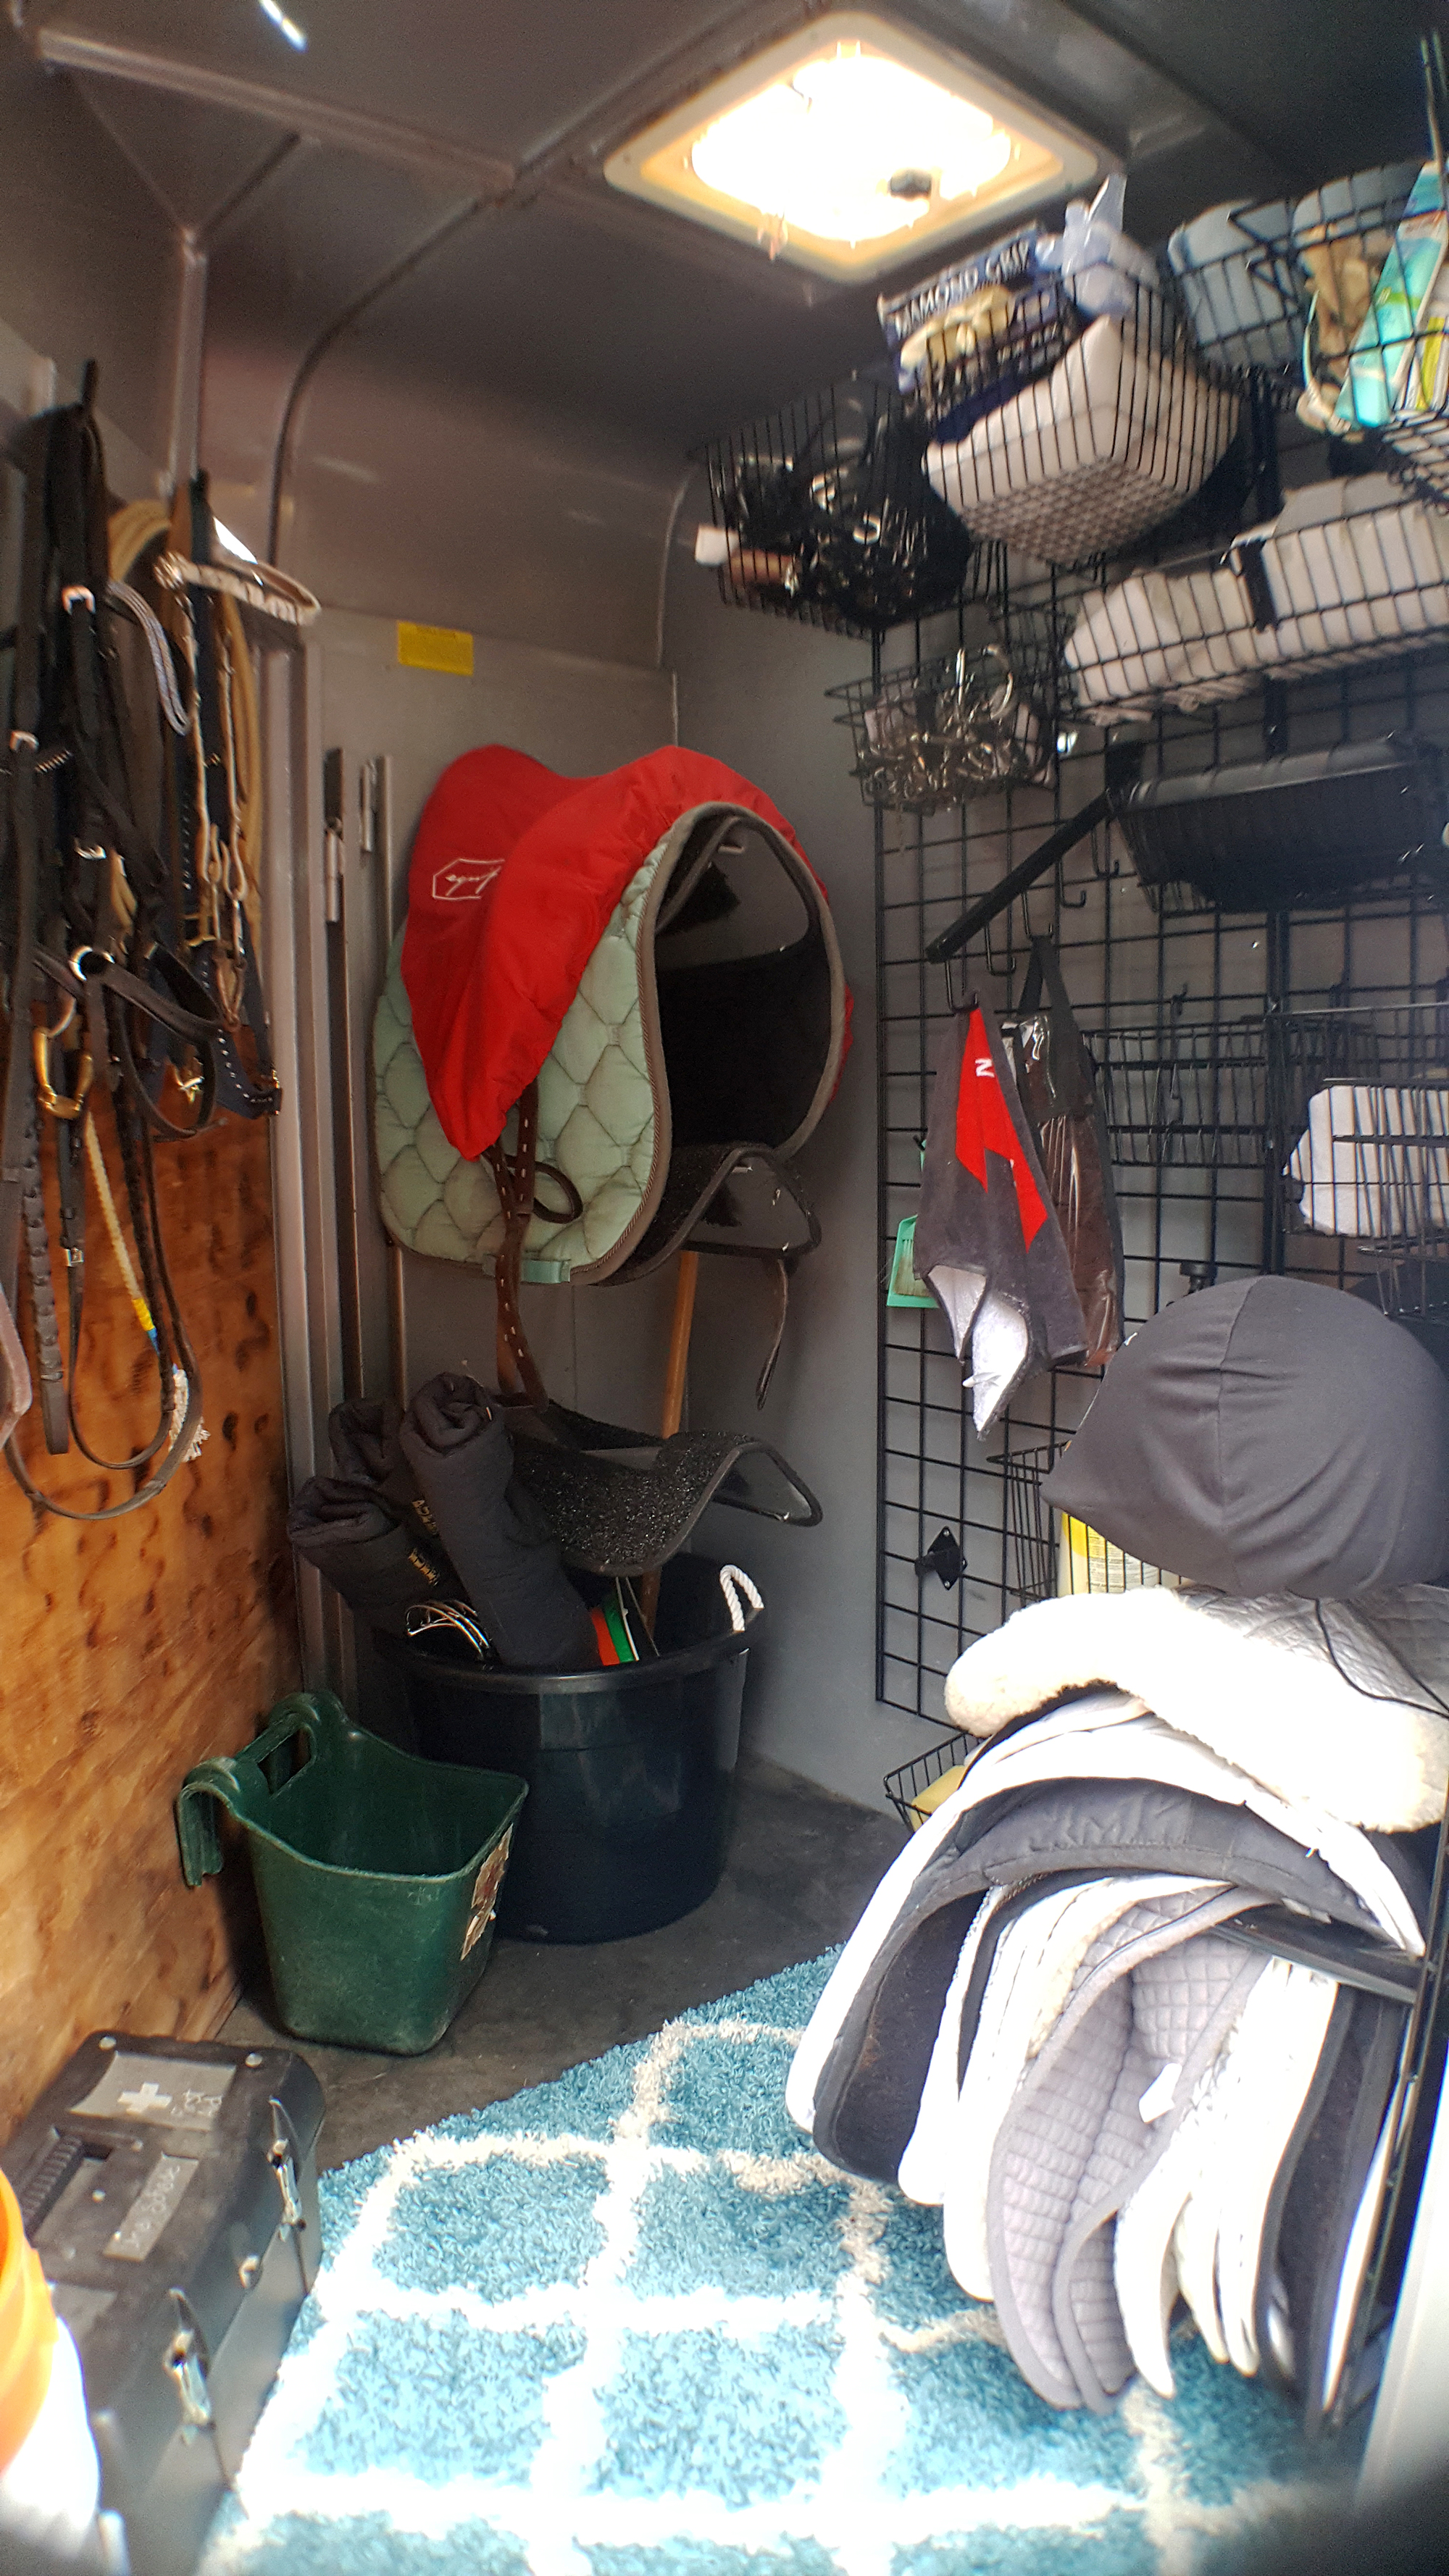
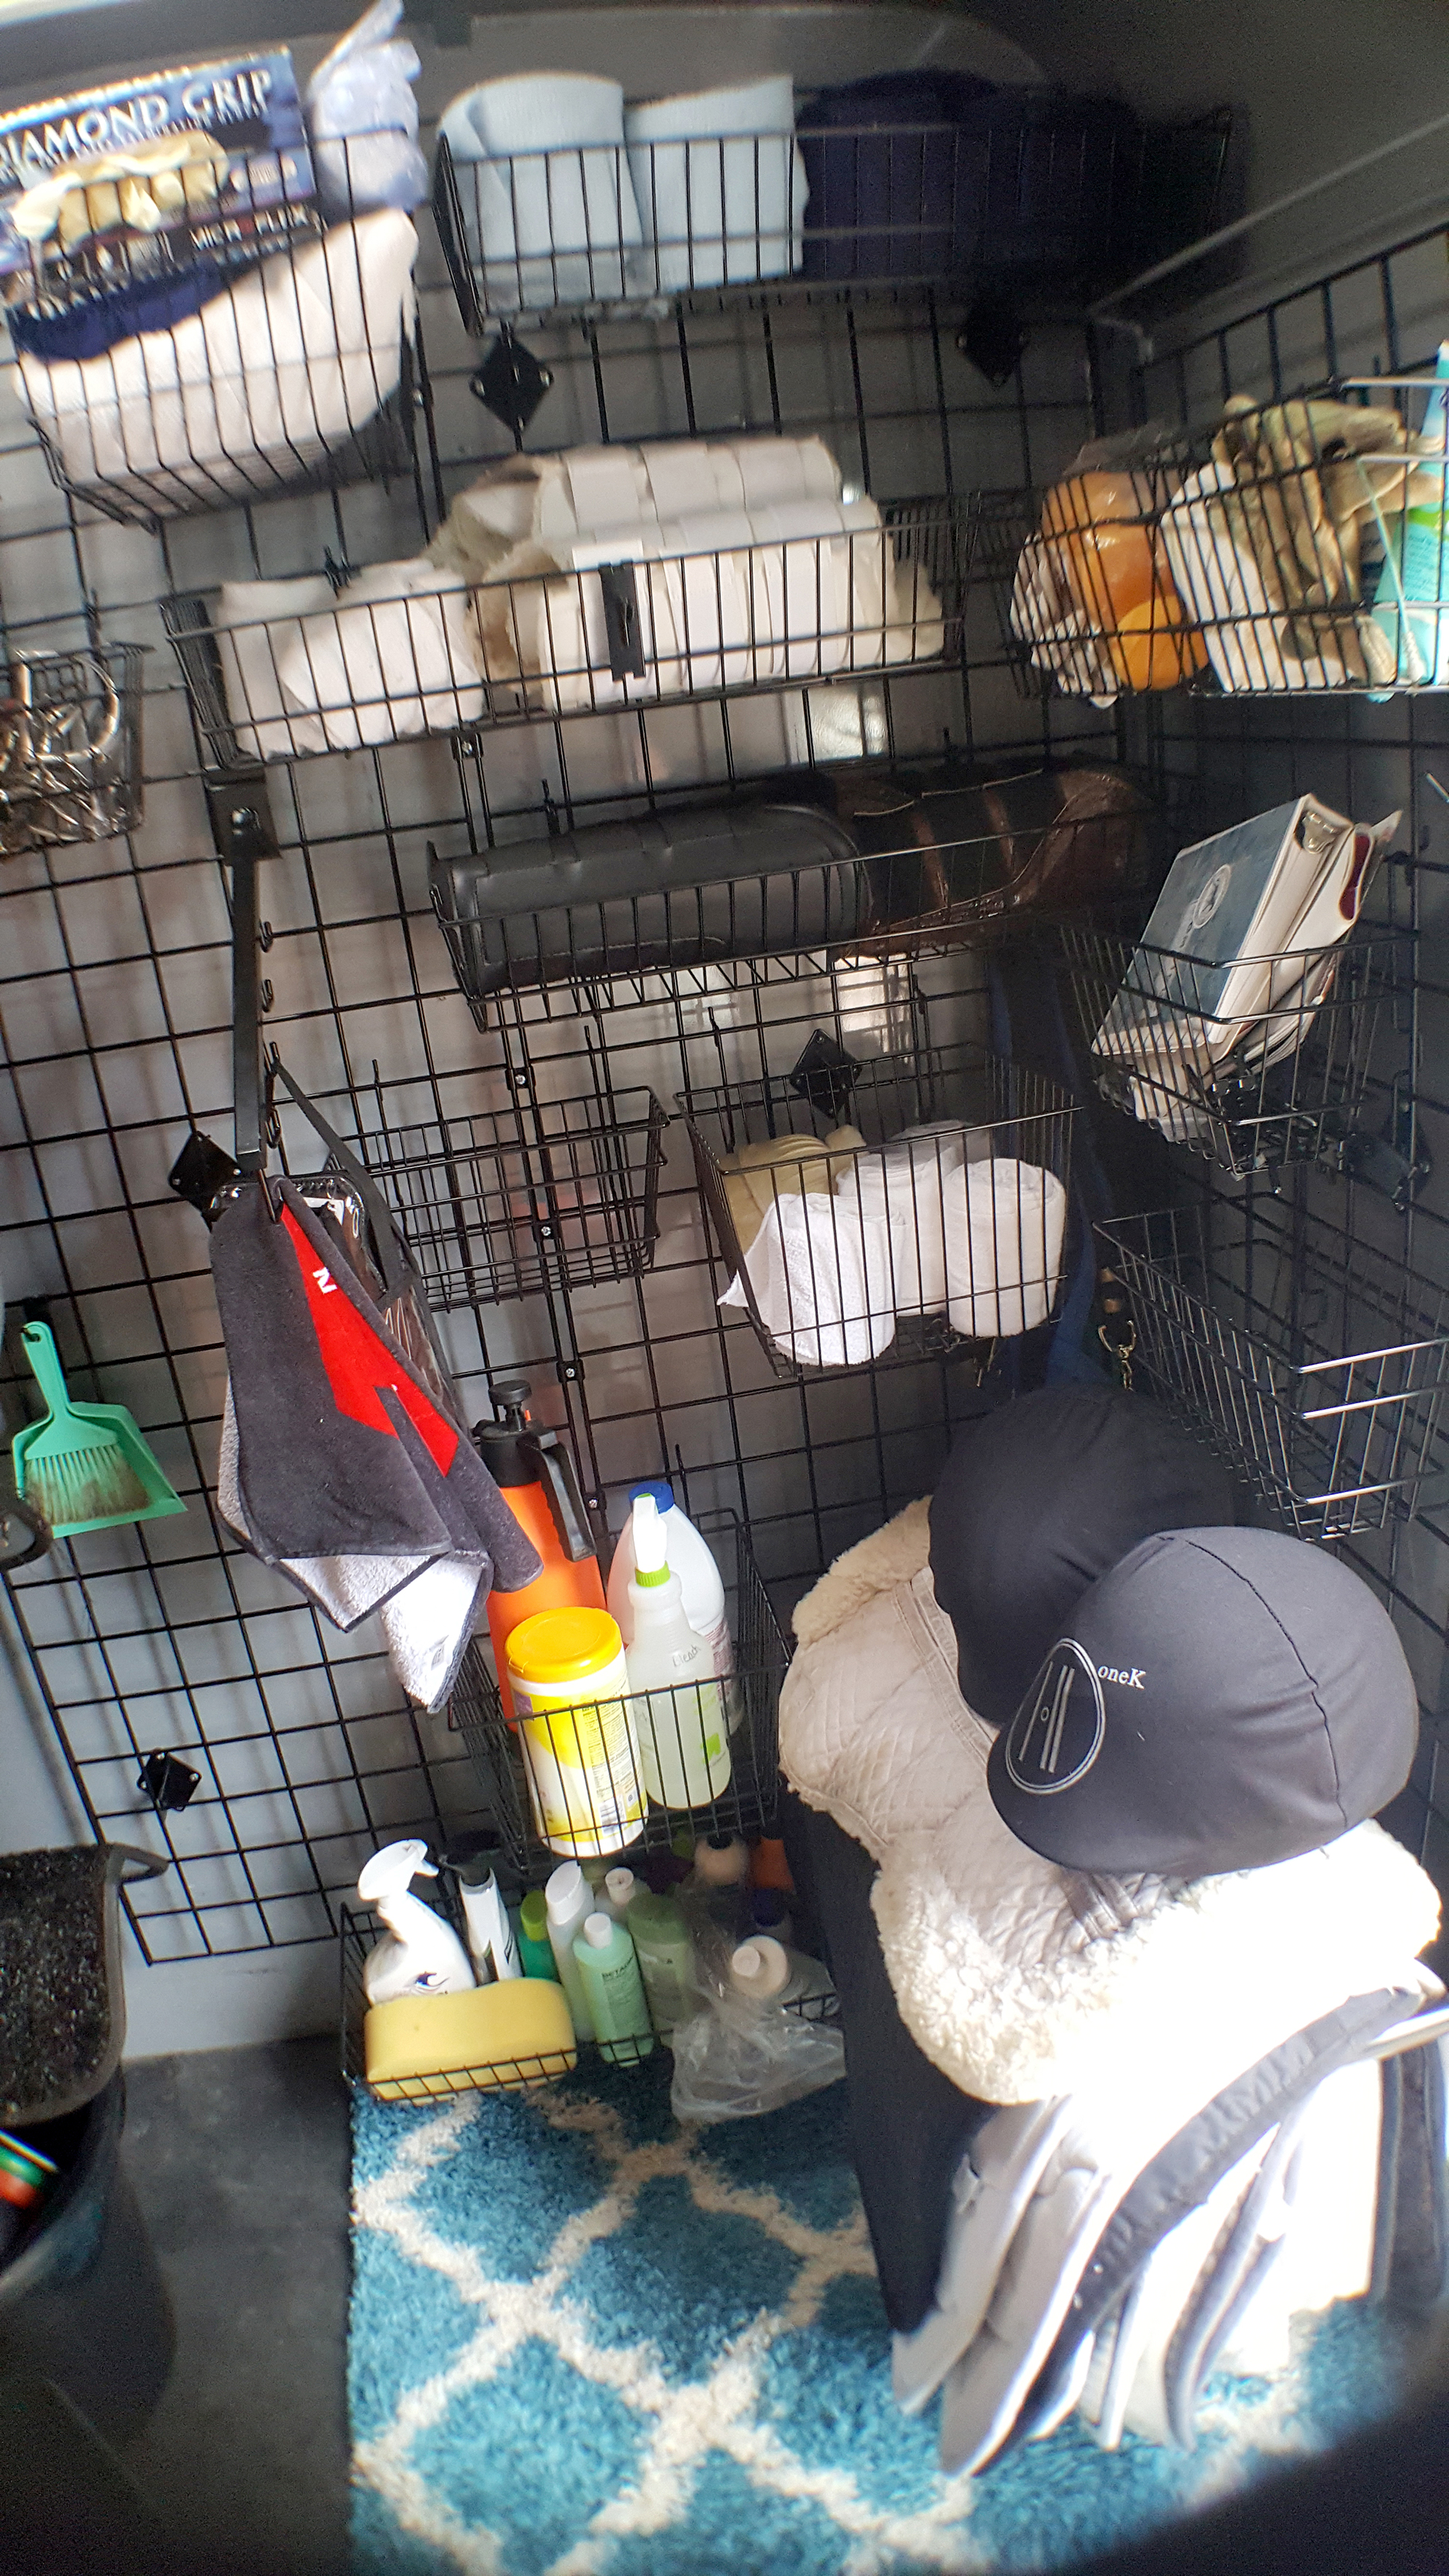
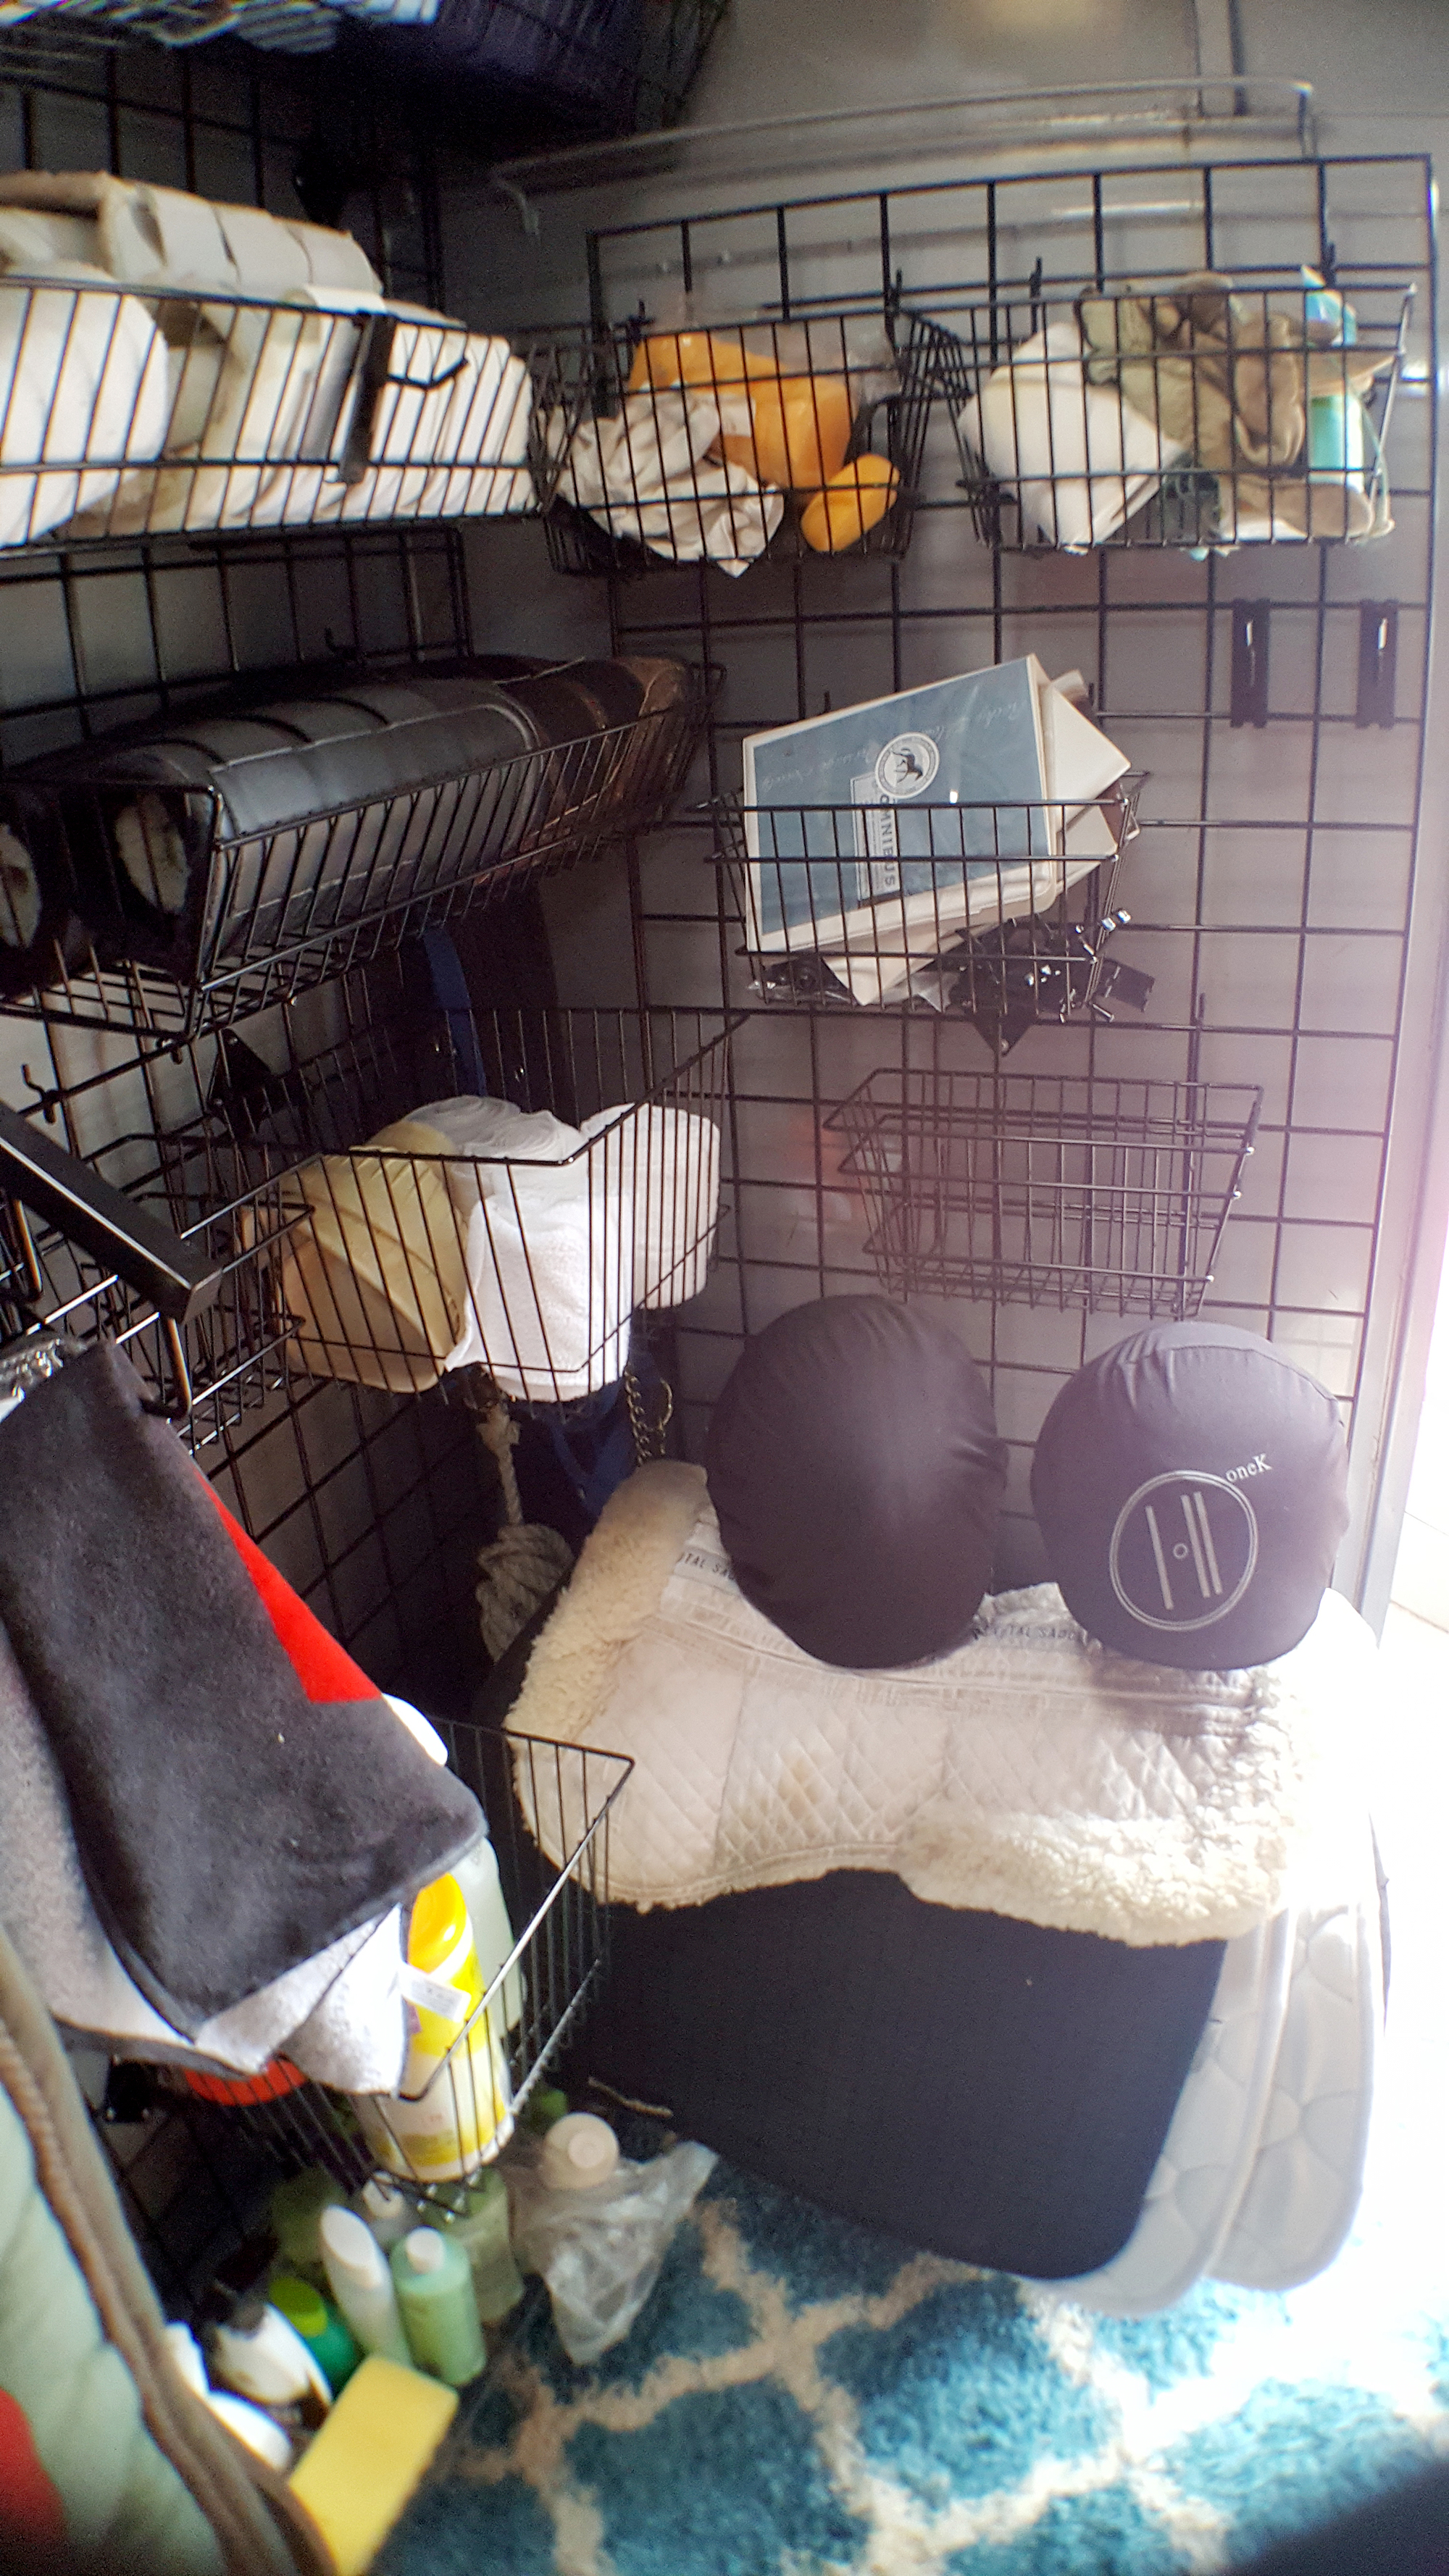
Here is the grid system installed in the trailer:


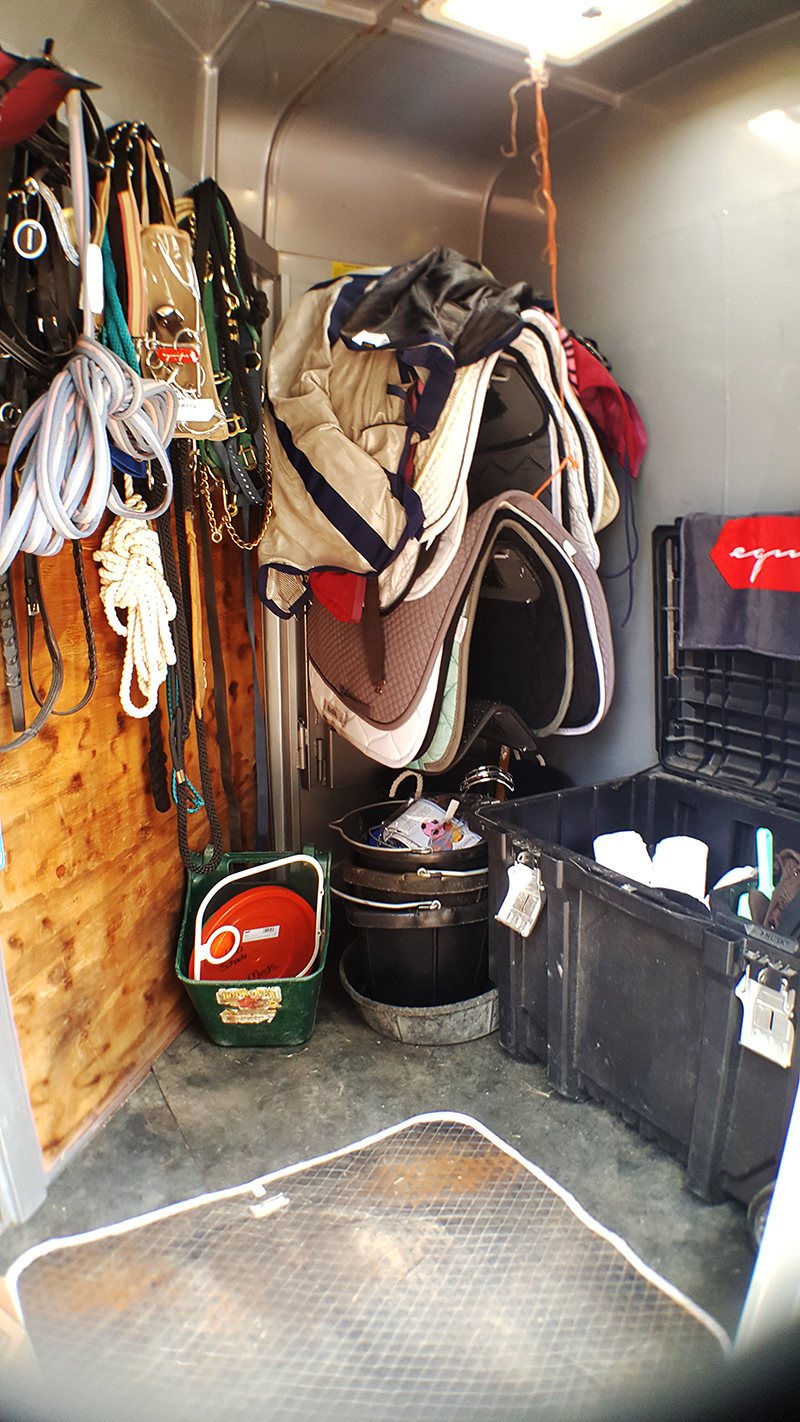
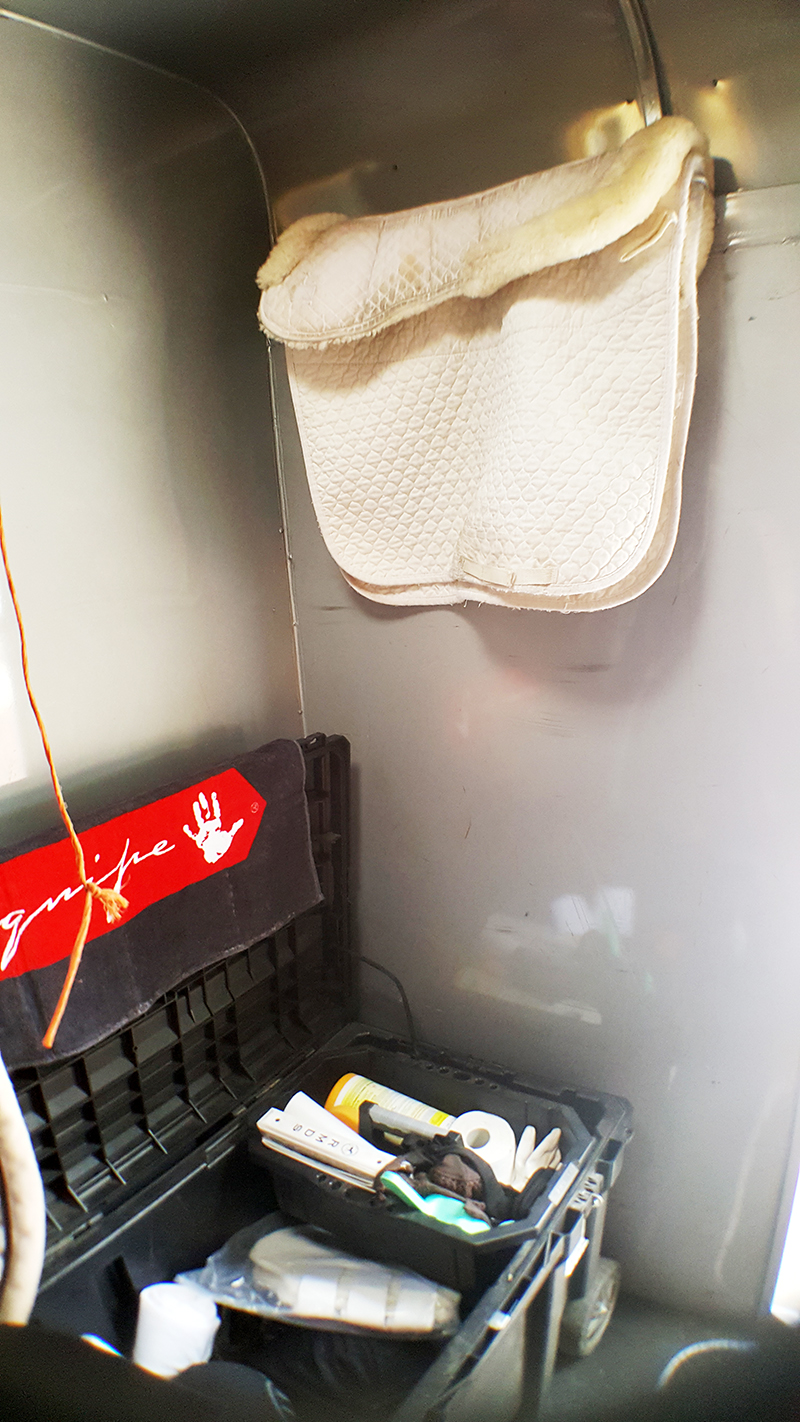
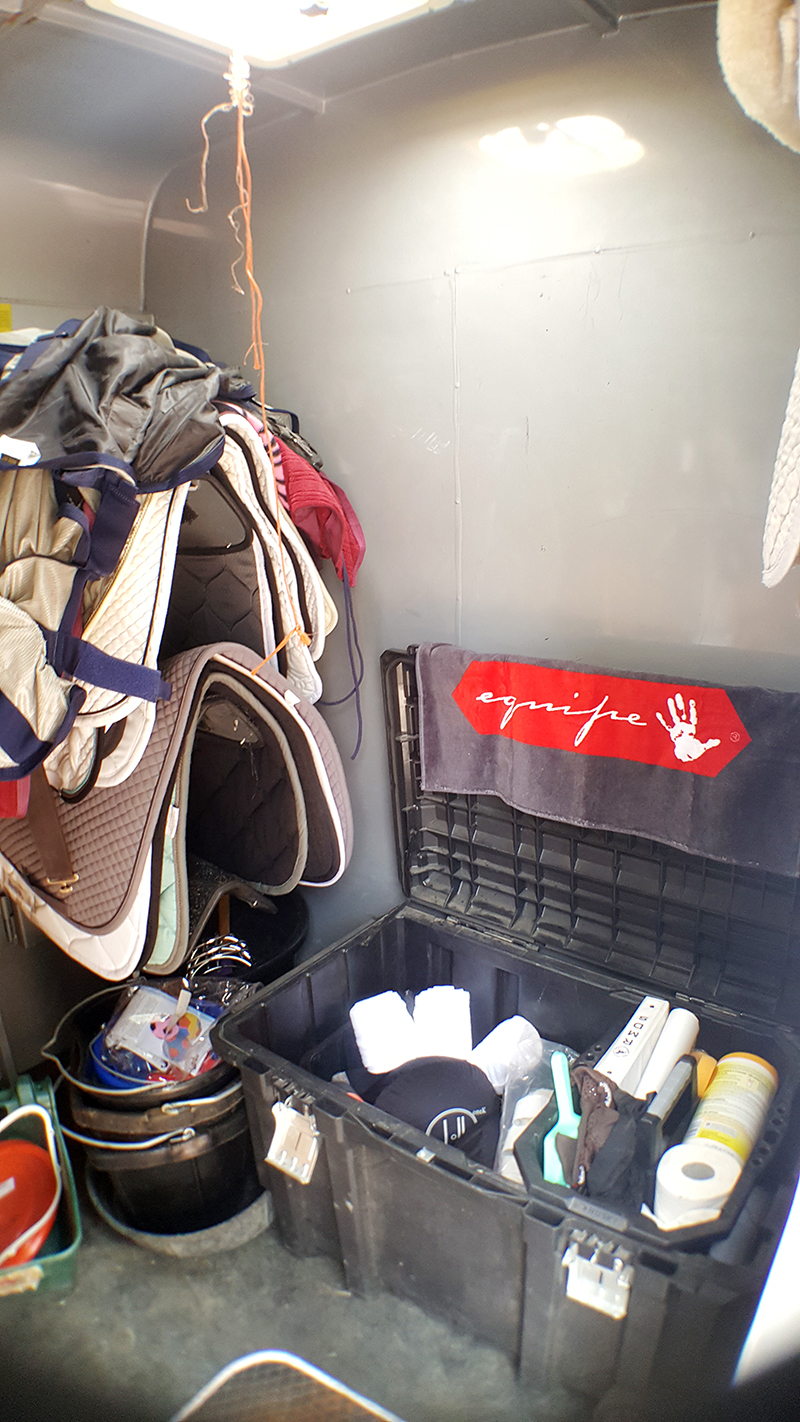
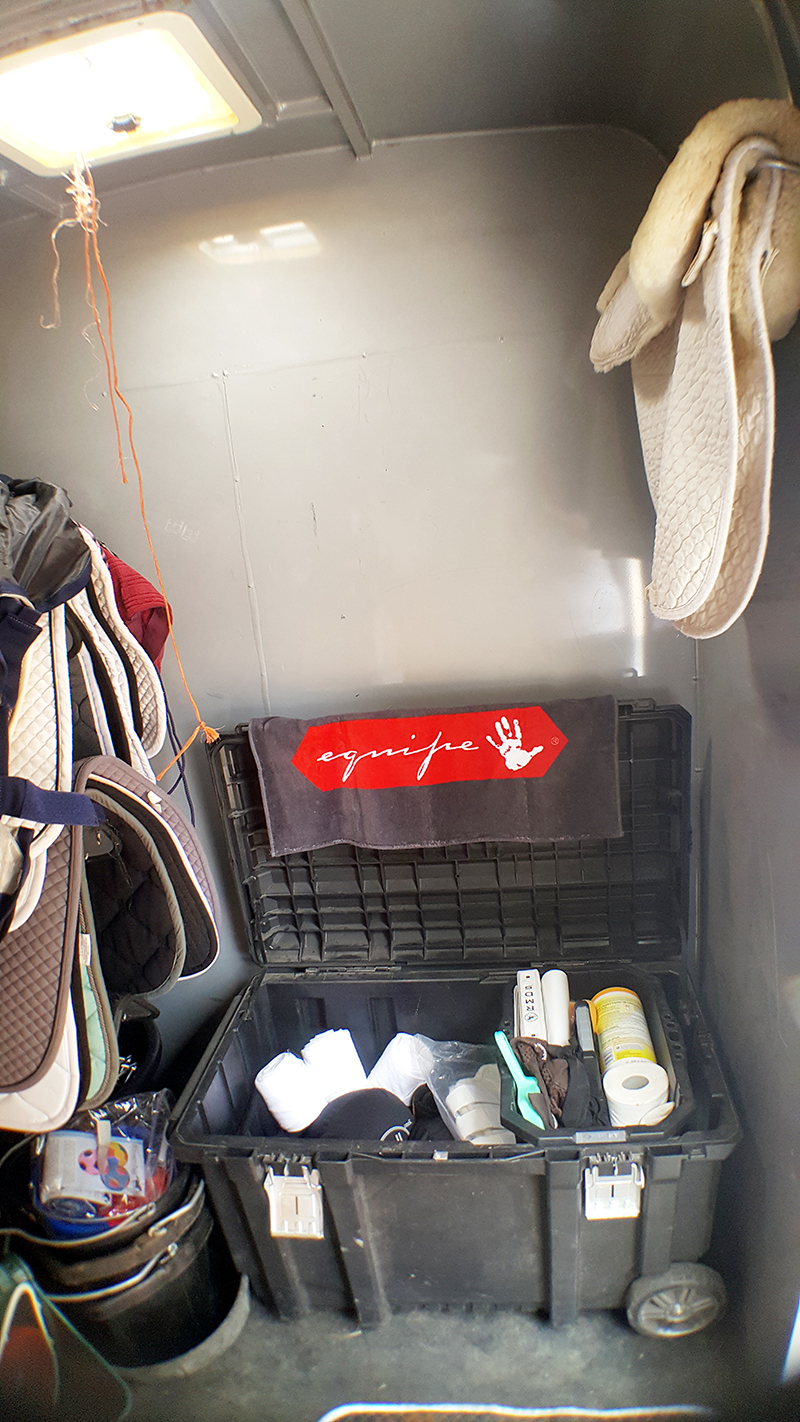
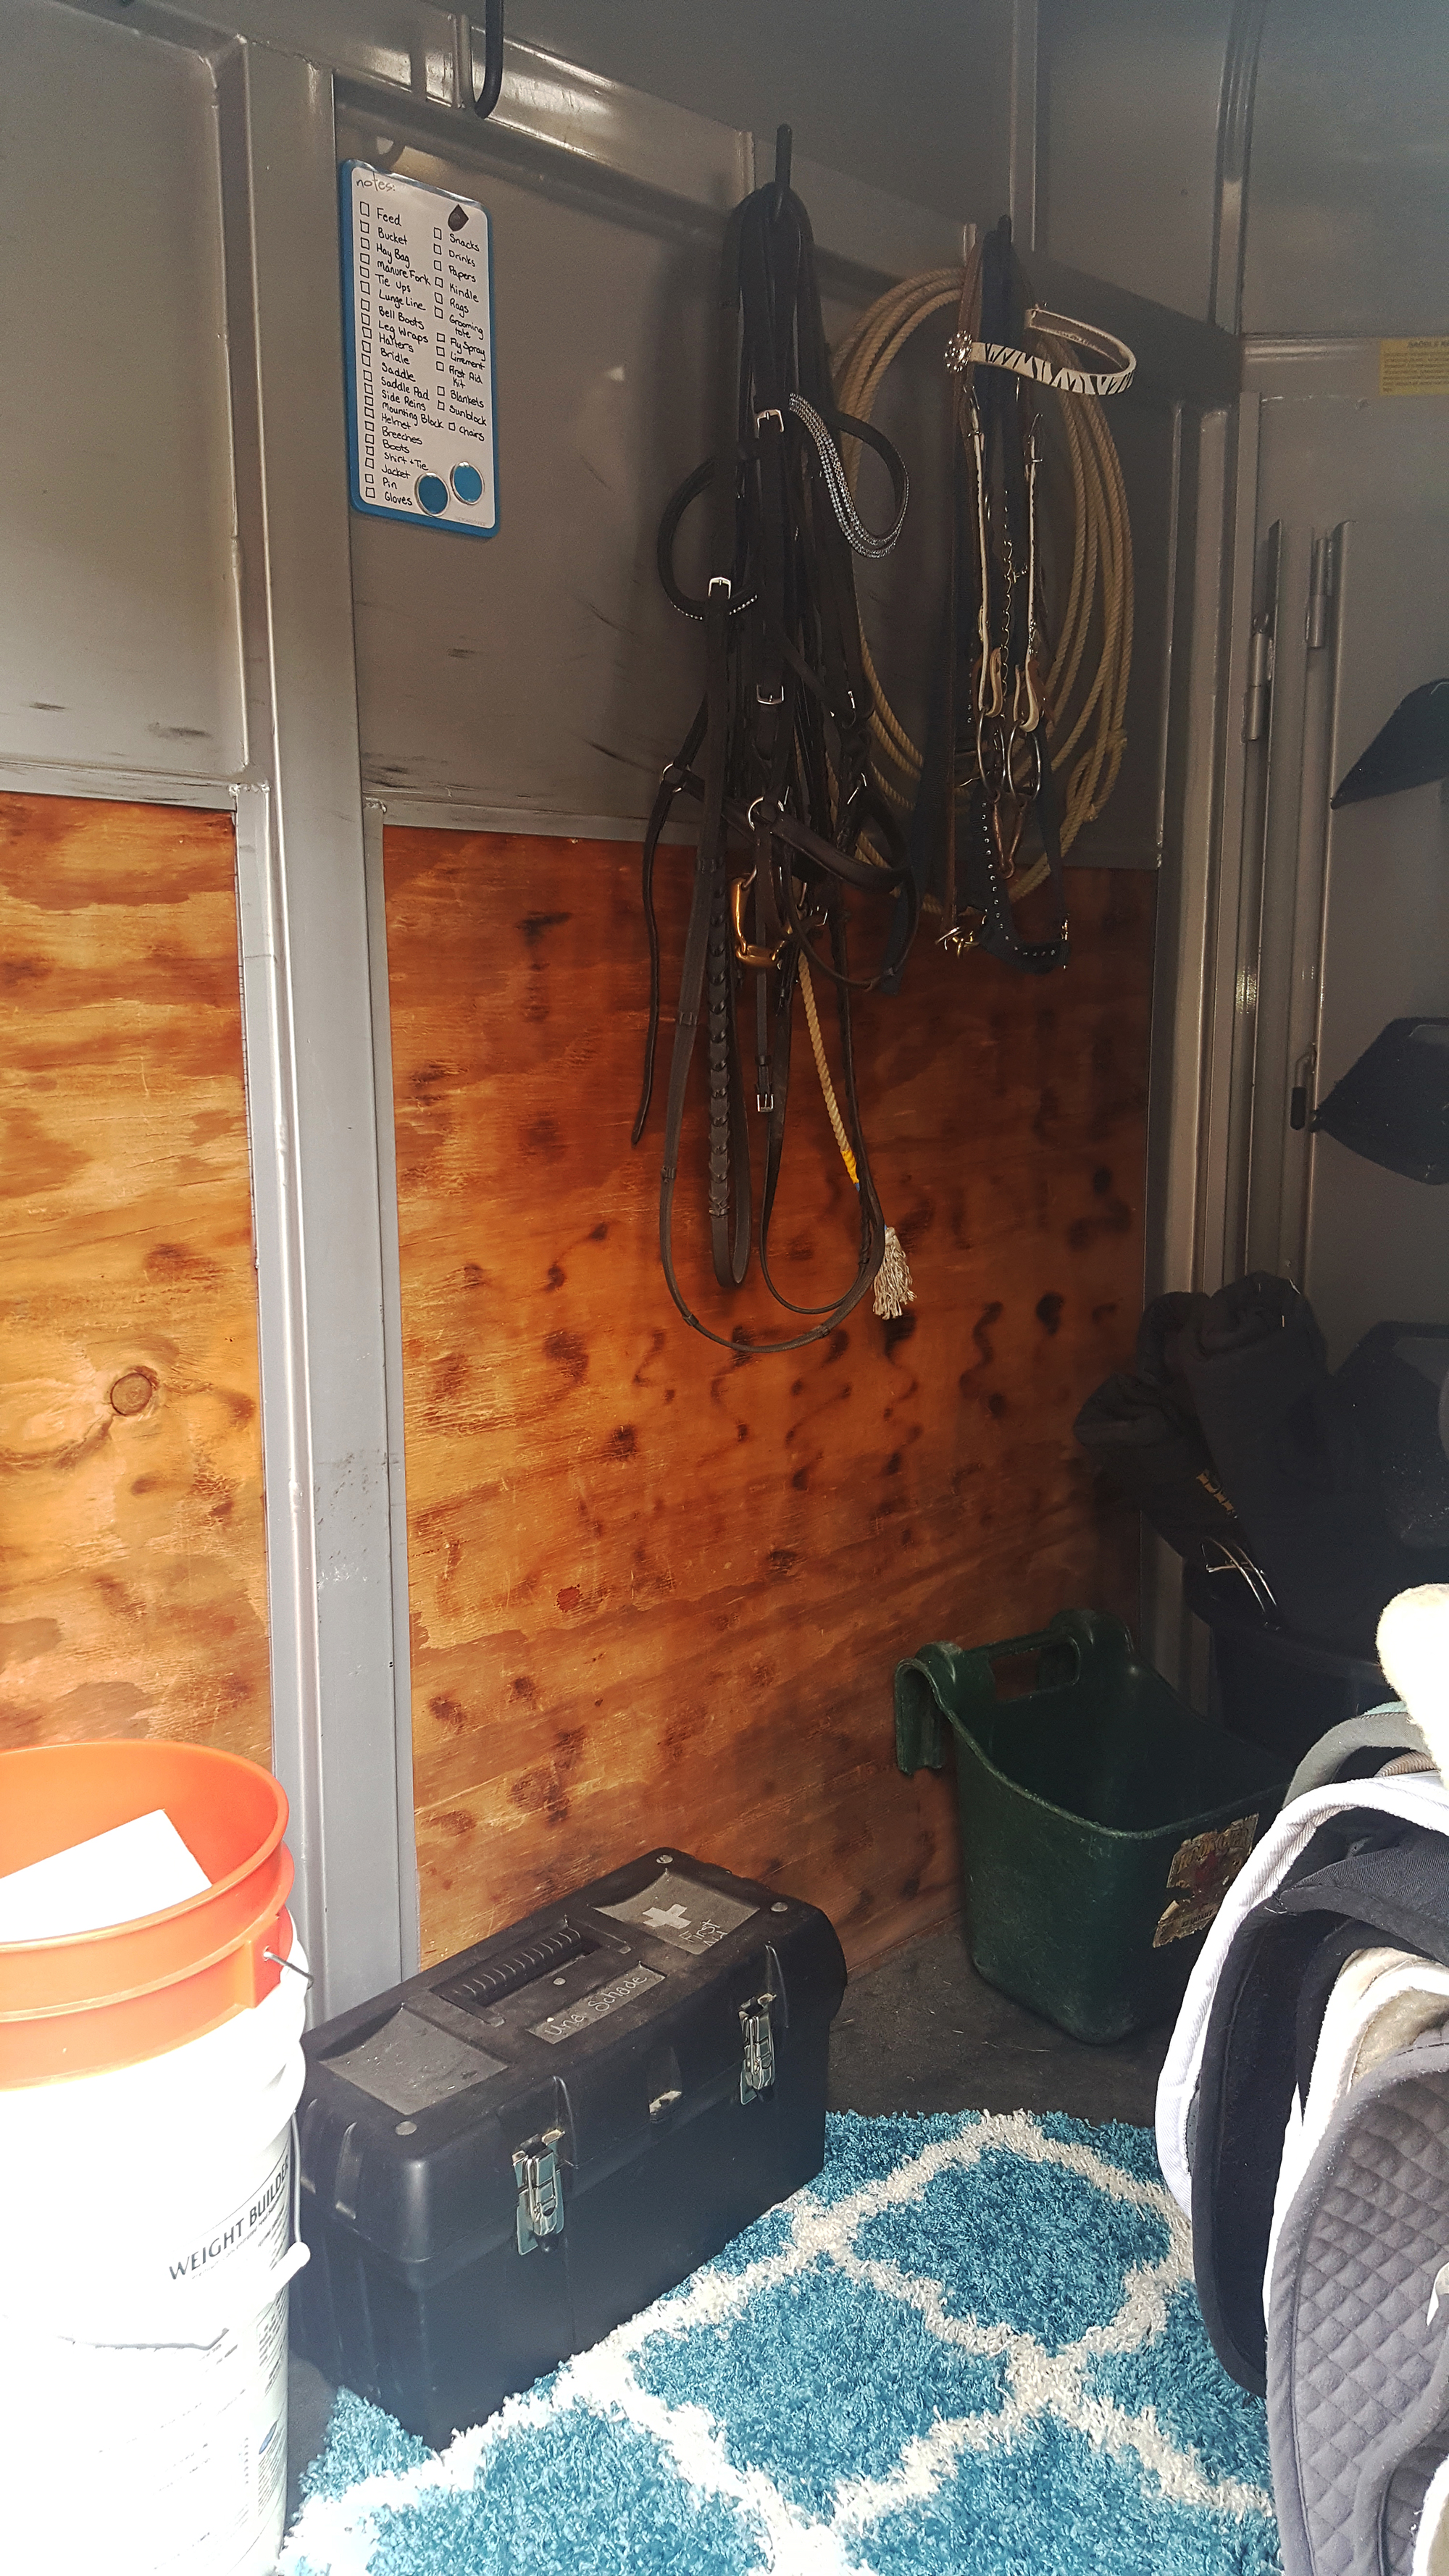
Here is the trailer before and after the gridwall. My trailer has a midtack, which is where this is installed, and a dressing room in the front that is separate. Keep in mind half of the stuff in these bins was in the rolling trunk or on my bridle hooks (so no room for bridles when I left the barn), and the other half was stuffed into my dressing room! Which means after this, I got my dressing room back!
Horse Trailer Before Gridwall:
Horse Trailer After Gridwall:


A few tricks I found:
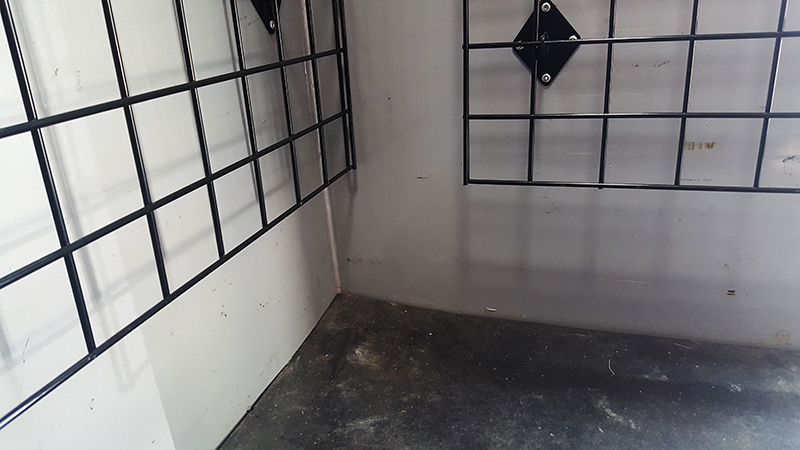
- Don’t install so the system sits on the ground, otherwise, you will have a very hard time cleaning under/behind it.
- The system does stick out from the wall about 3″, so keep that in mind when mounting or choosing locations.
- The helmet hooks are not super stable places for your helmet to just sit. So I have buckled my helmet around the grid to ensure it doesn’t fall off the holder.
- After my initial install I realized that for a horse trailer, you really need an additional mount in the center facing downwards to prevent the grid from bouncing around with movement (I have ordered these but not installed them yet, will update the post once installed). This could just be my anal retentiveness though.
Products I Ordered:
Commercial Grid Panels 2’x6′: $79.99 for 3
Gridwall Mounts: $18.99 for 12
Gridwall Joining Clips: $12.50 for 25
Baskets 12″x6″x6″: $40.38 for 6
Baskets 12″x12″x8″: $47.01 for 6
Baskets 24″x10″x5″: $54.96 for 6
24″ Metal “C” Rail: $20.17 for 1
Grid Hat Displayer: $7.00 for 1 (I ordered 2)
Square Tubing 5 Hook Waterfall: $9.00 for 1
2″ Gridwall Hook: $34.89 for 100
Other things I used/needed for install:
Drill with appropriate sized drill bits (I used a small bit first, and then opened the hole to 3/16″ to match my rivets after the pilot hole was drilled)
Rivet gun (this is what I used)
Rivets (I used aluminum 3/16″ x 1/4″ for the sheet metal in my trailer)
Measuring tape to ensure squareness and levelness (using a level in a trailer isn’t always accurate depending on where you are parked and if the floor is level)
Marker to mark holes for gridwall mount

Author: Una
Una moved to Colorado in 2007 and started the Colorado Horse Forum as a way to meet other equestrians in the area. Una now rides and competes in dressage. She operates a small dressage horse breeding program in Castle Rock.


Leave a Reply
You must be logged in to post a comment.